Leather book binding is a beautiful and enduring craft that combines artistry, tradition, and functionality. Whether you want to create a journal, a sketchbook, or a unique gift, this beginner-friendly guide will walk you through the essential steps of leather book binding.
Materials You'll Need
For the Pages:
- Paper: Choose high-quality paper suitable for your intended use (writing, drawing, etc.).
- Cutting Tool: A sharp craft knife or rotary cutter. Ruler and Pencil: For measuring and marking.
For the Cover:
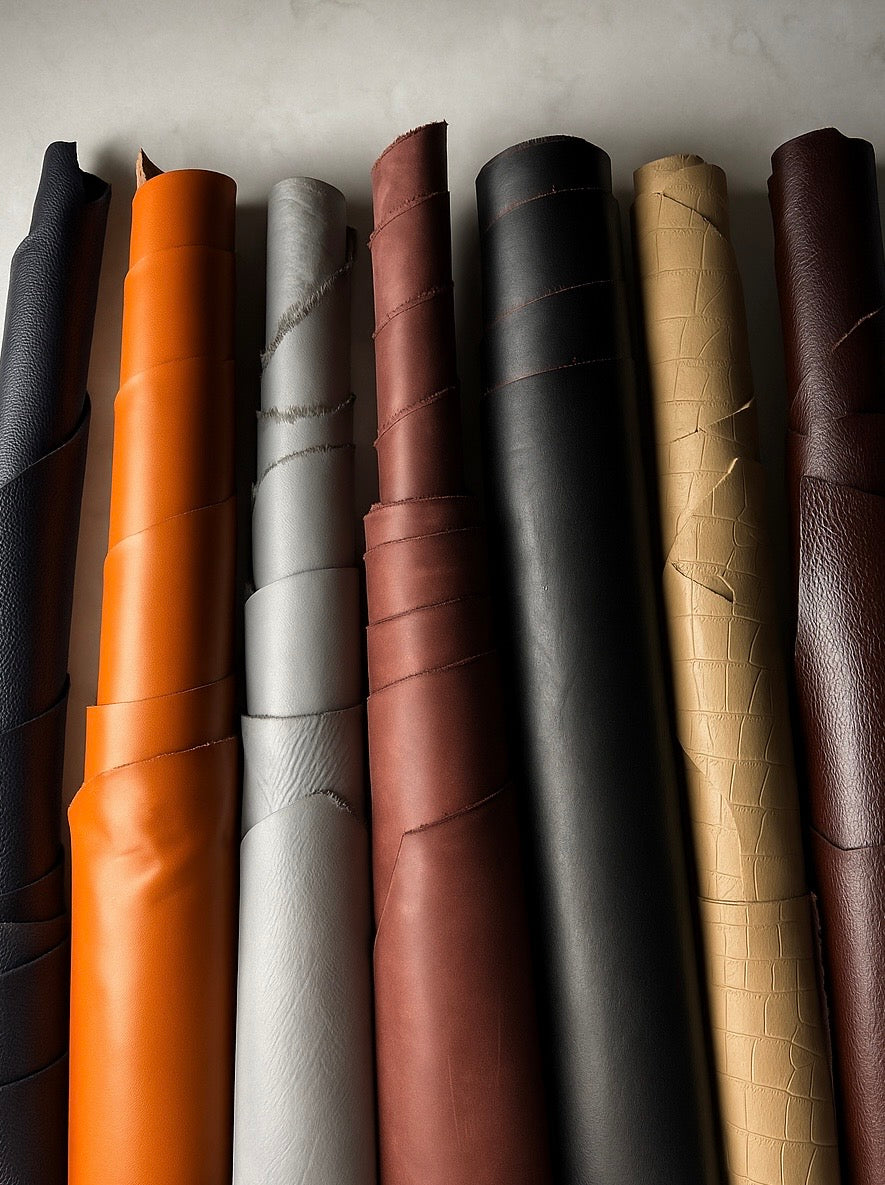
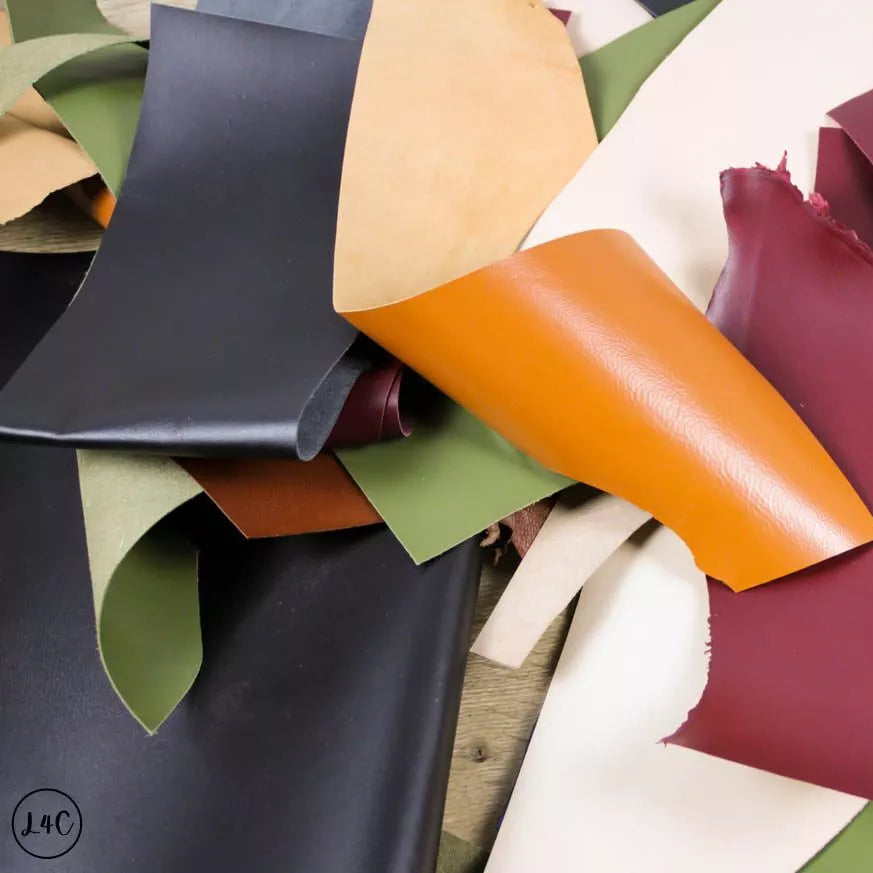
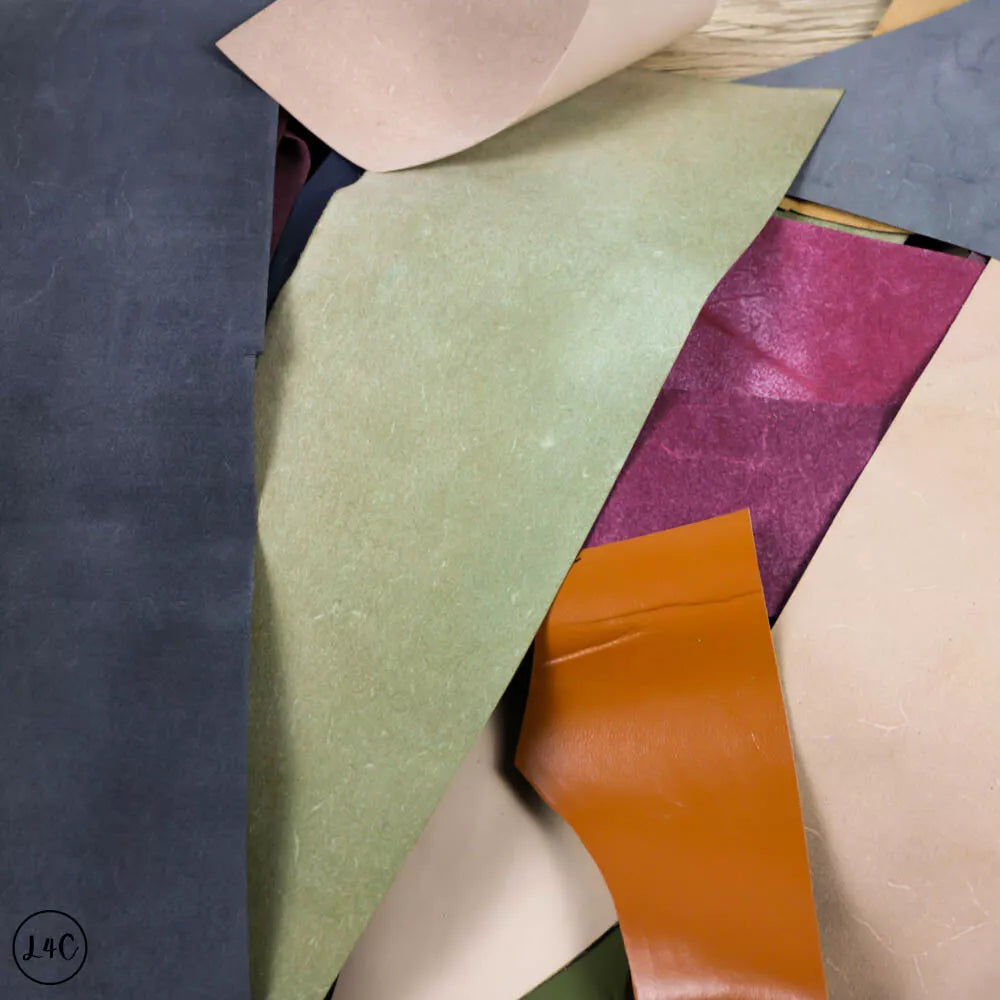
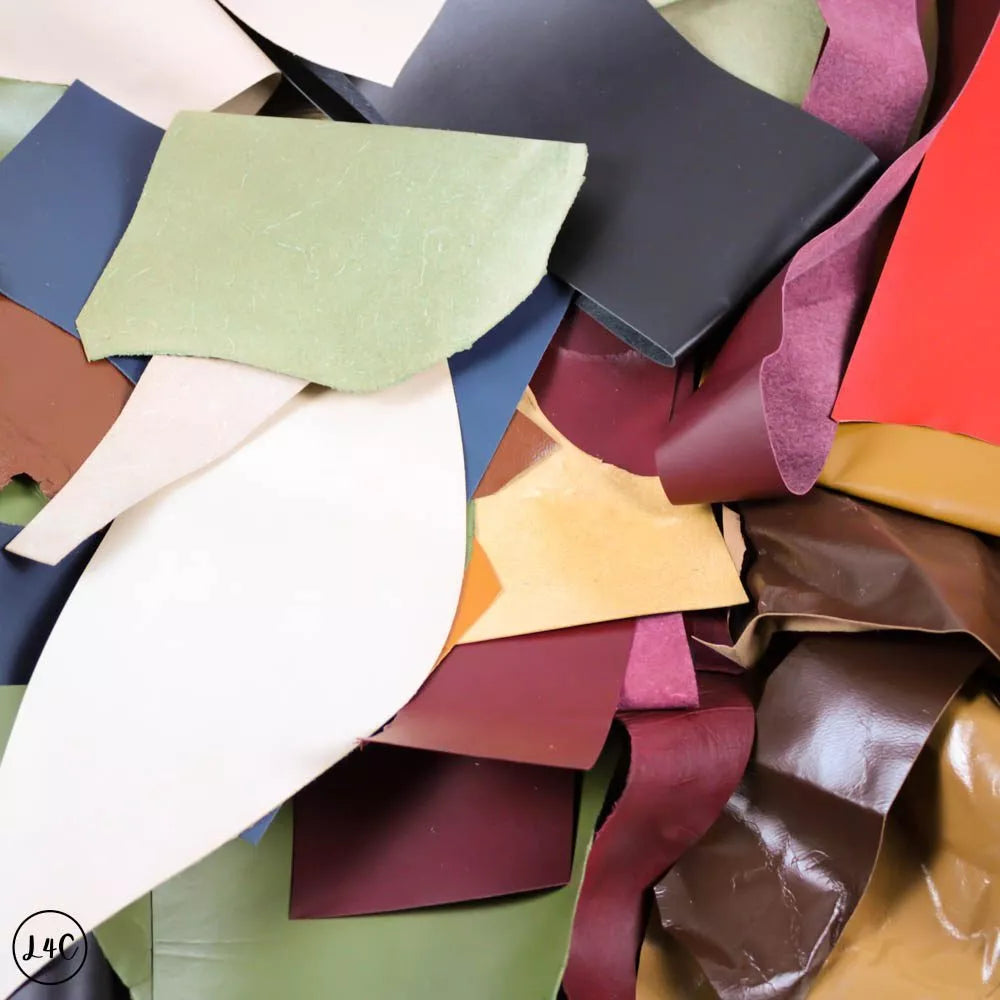
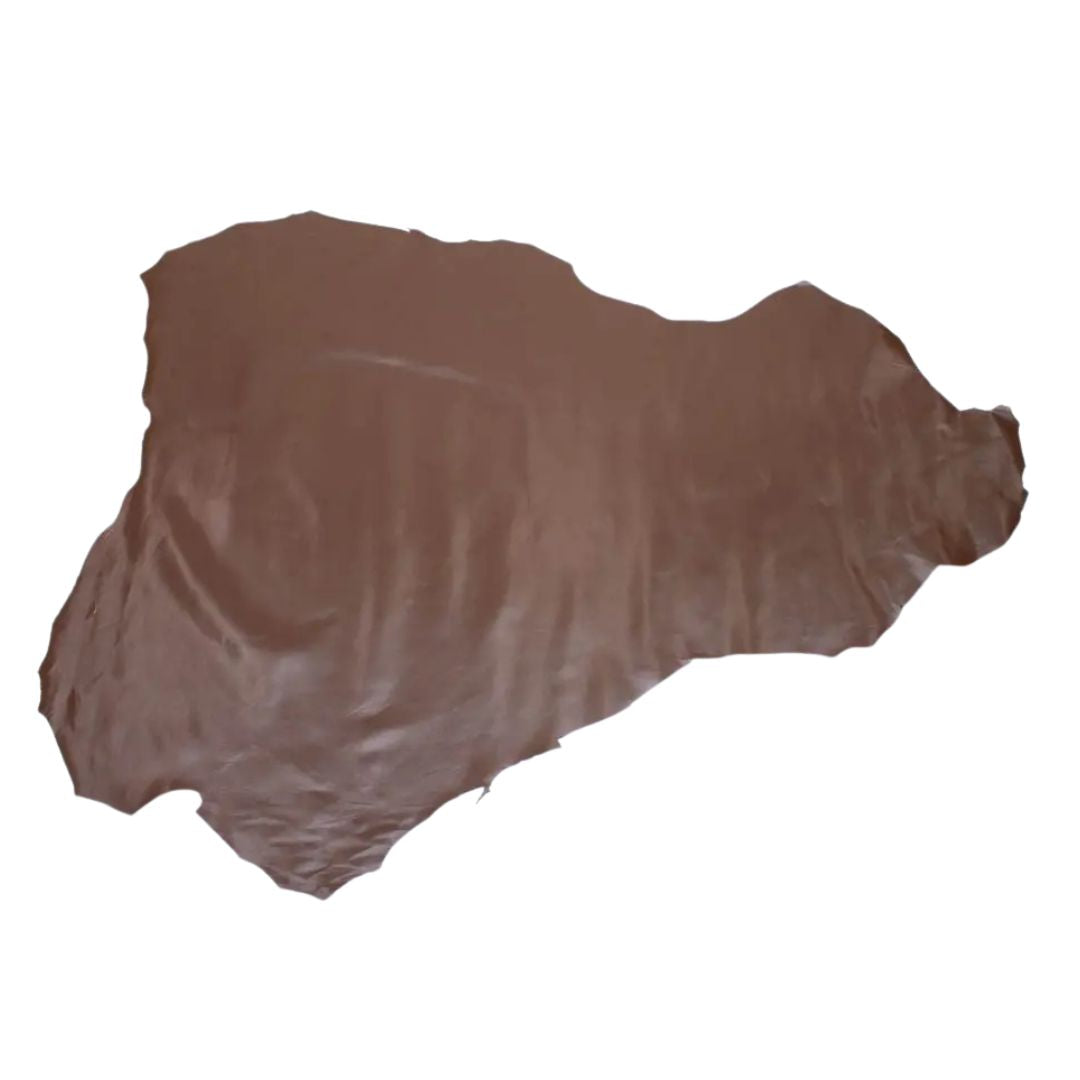
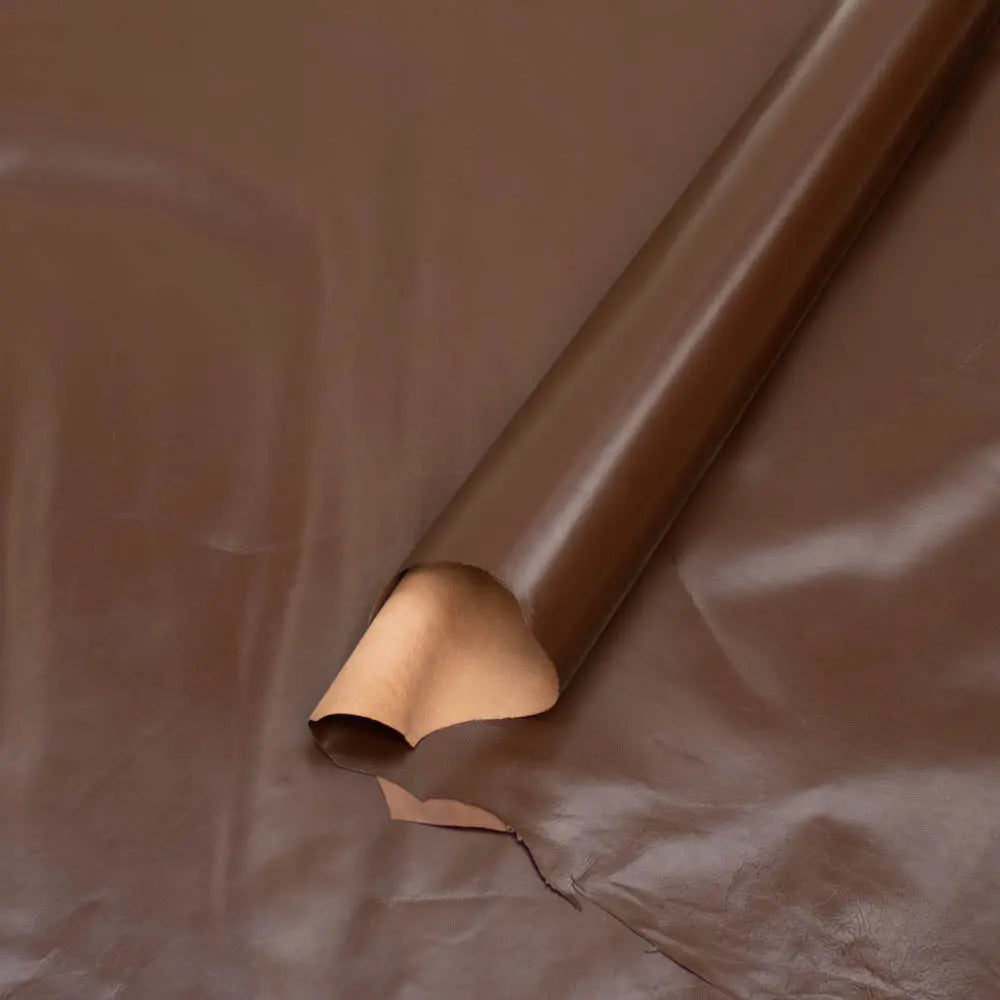
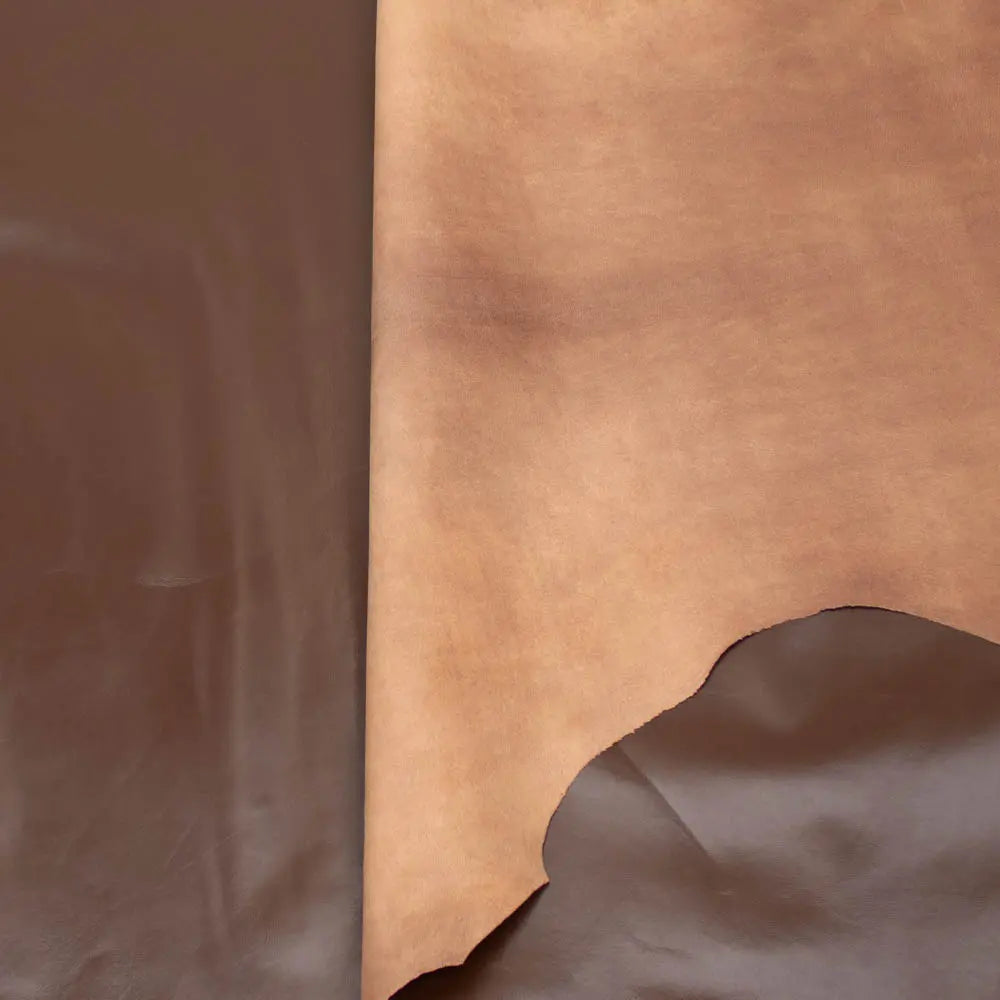
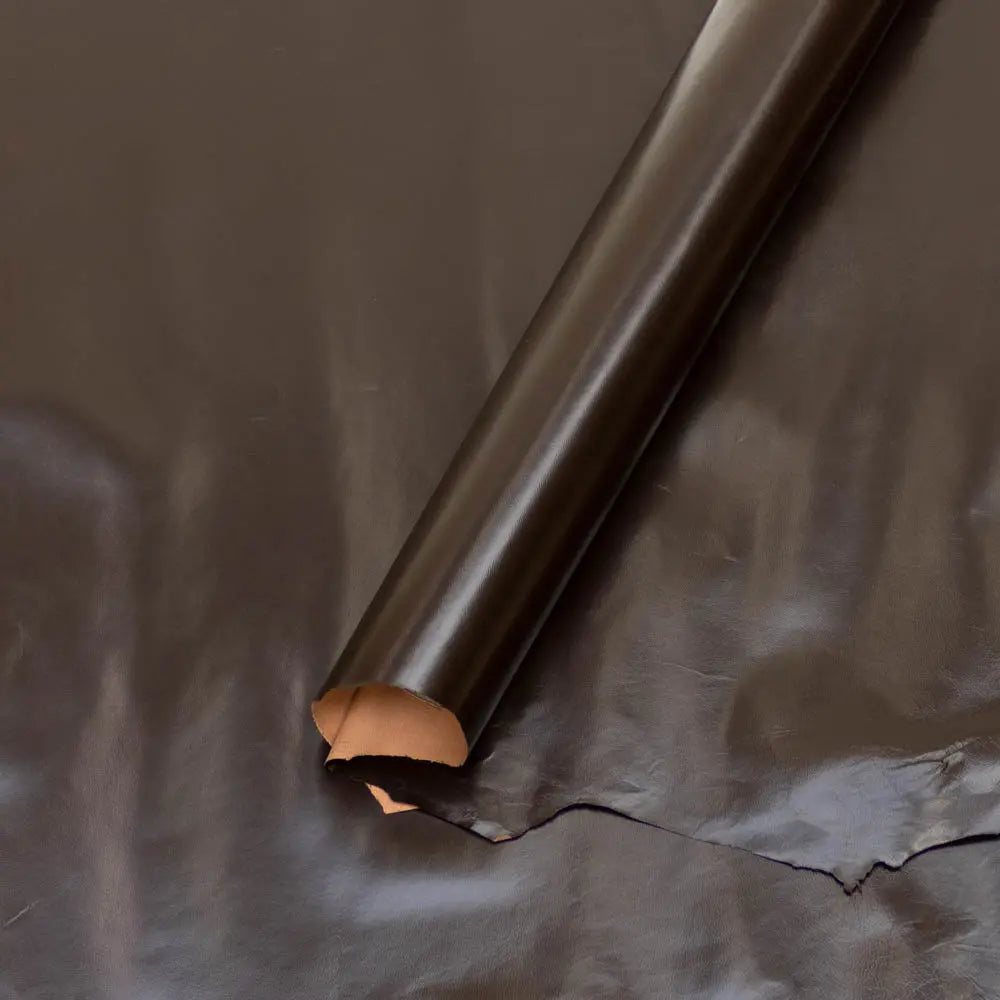
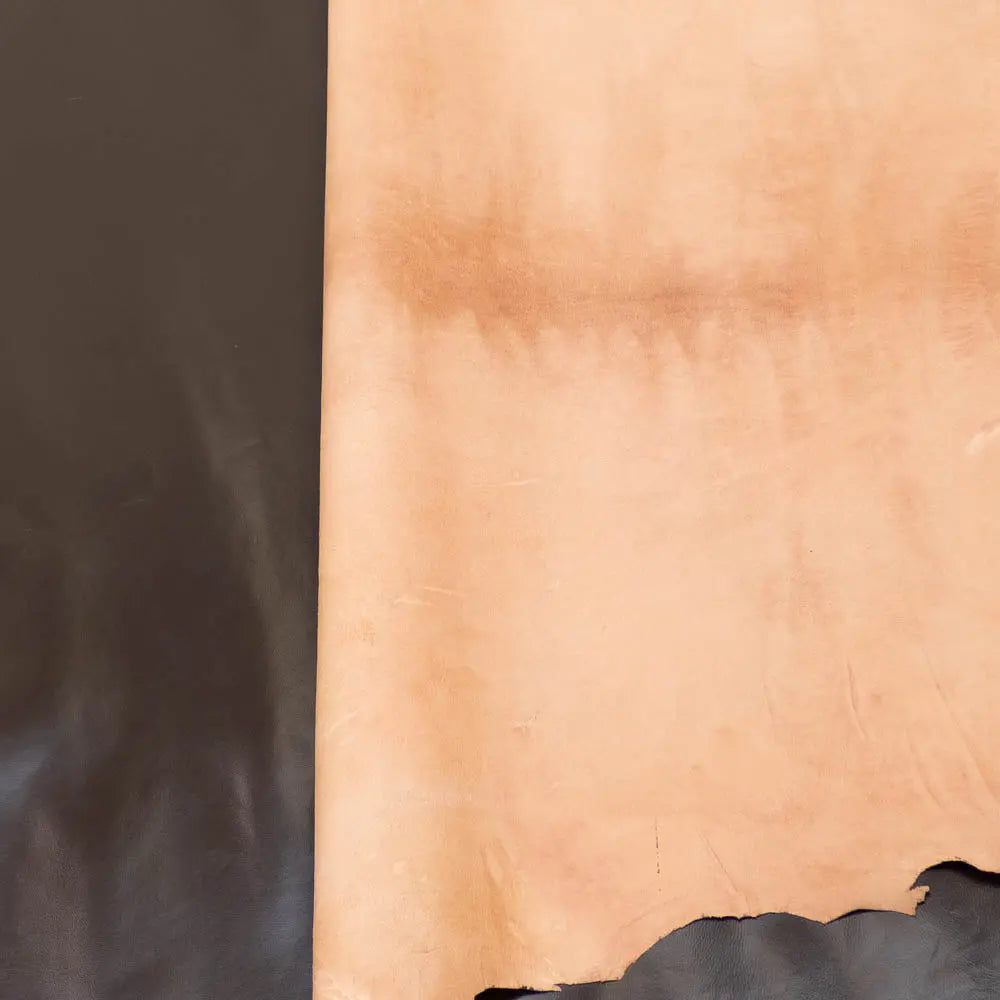
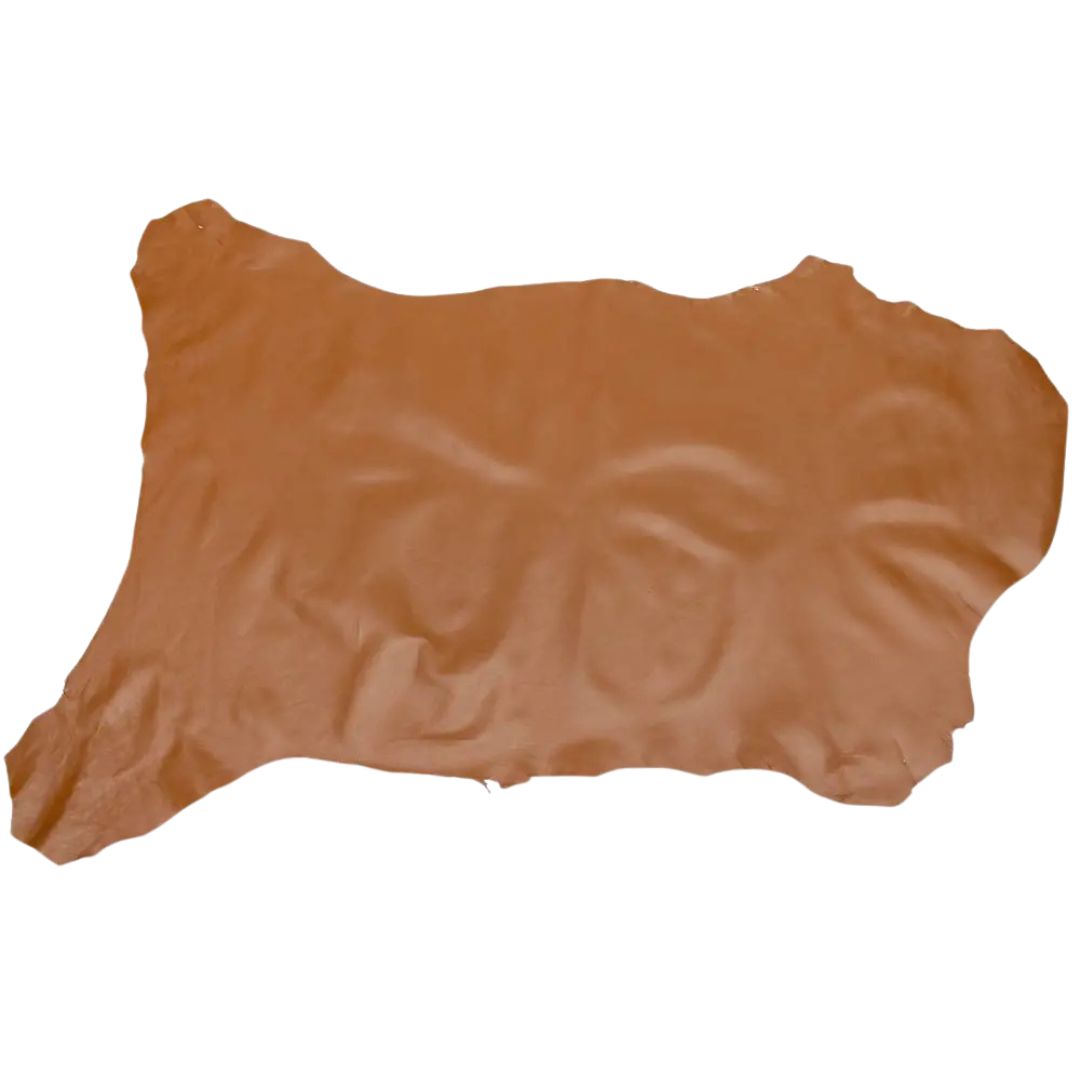
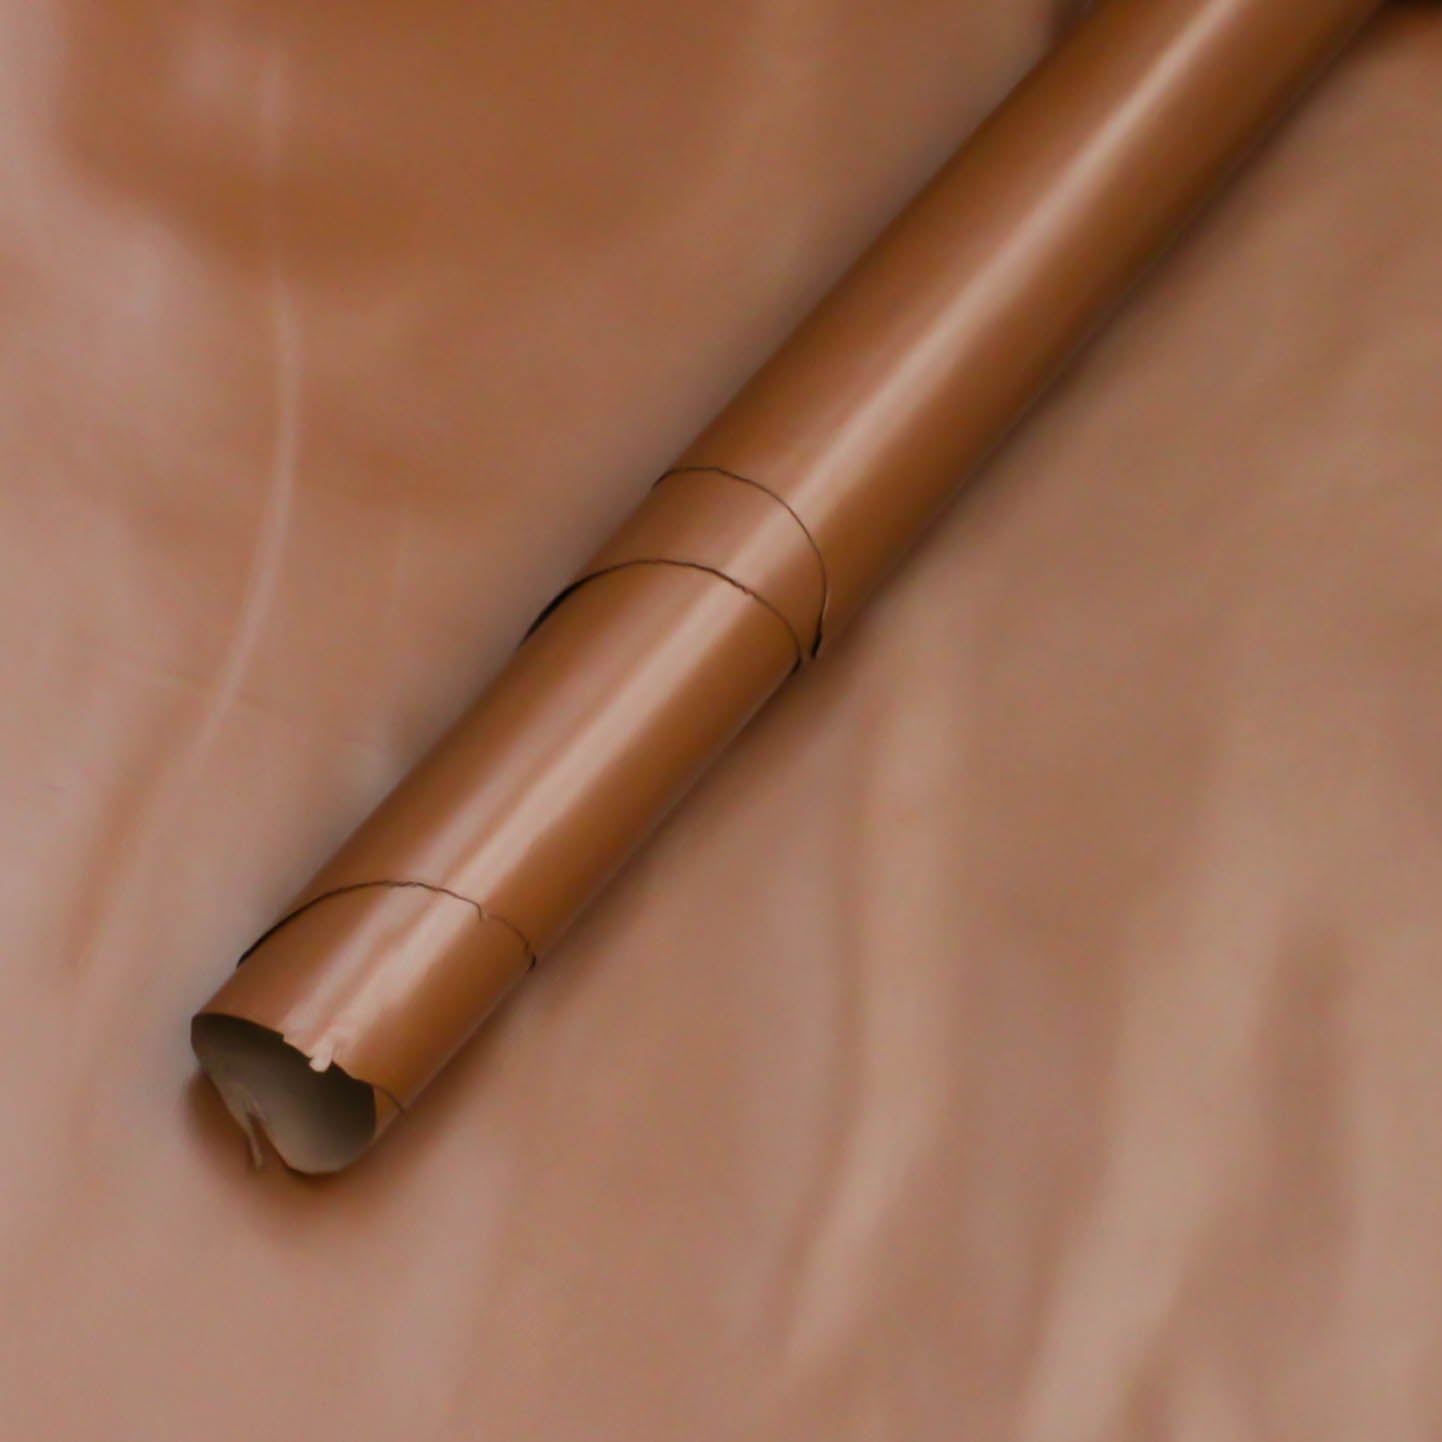
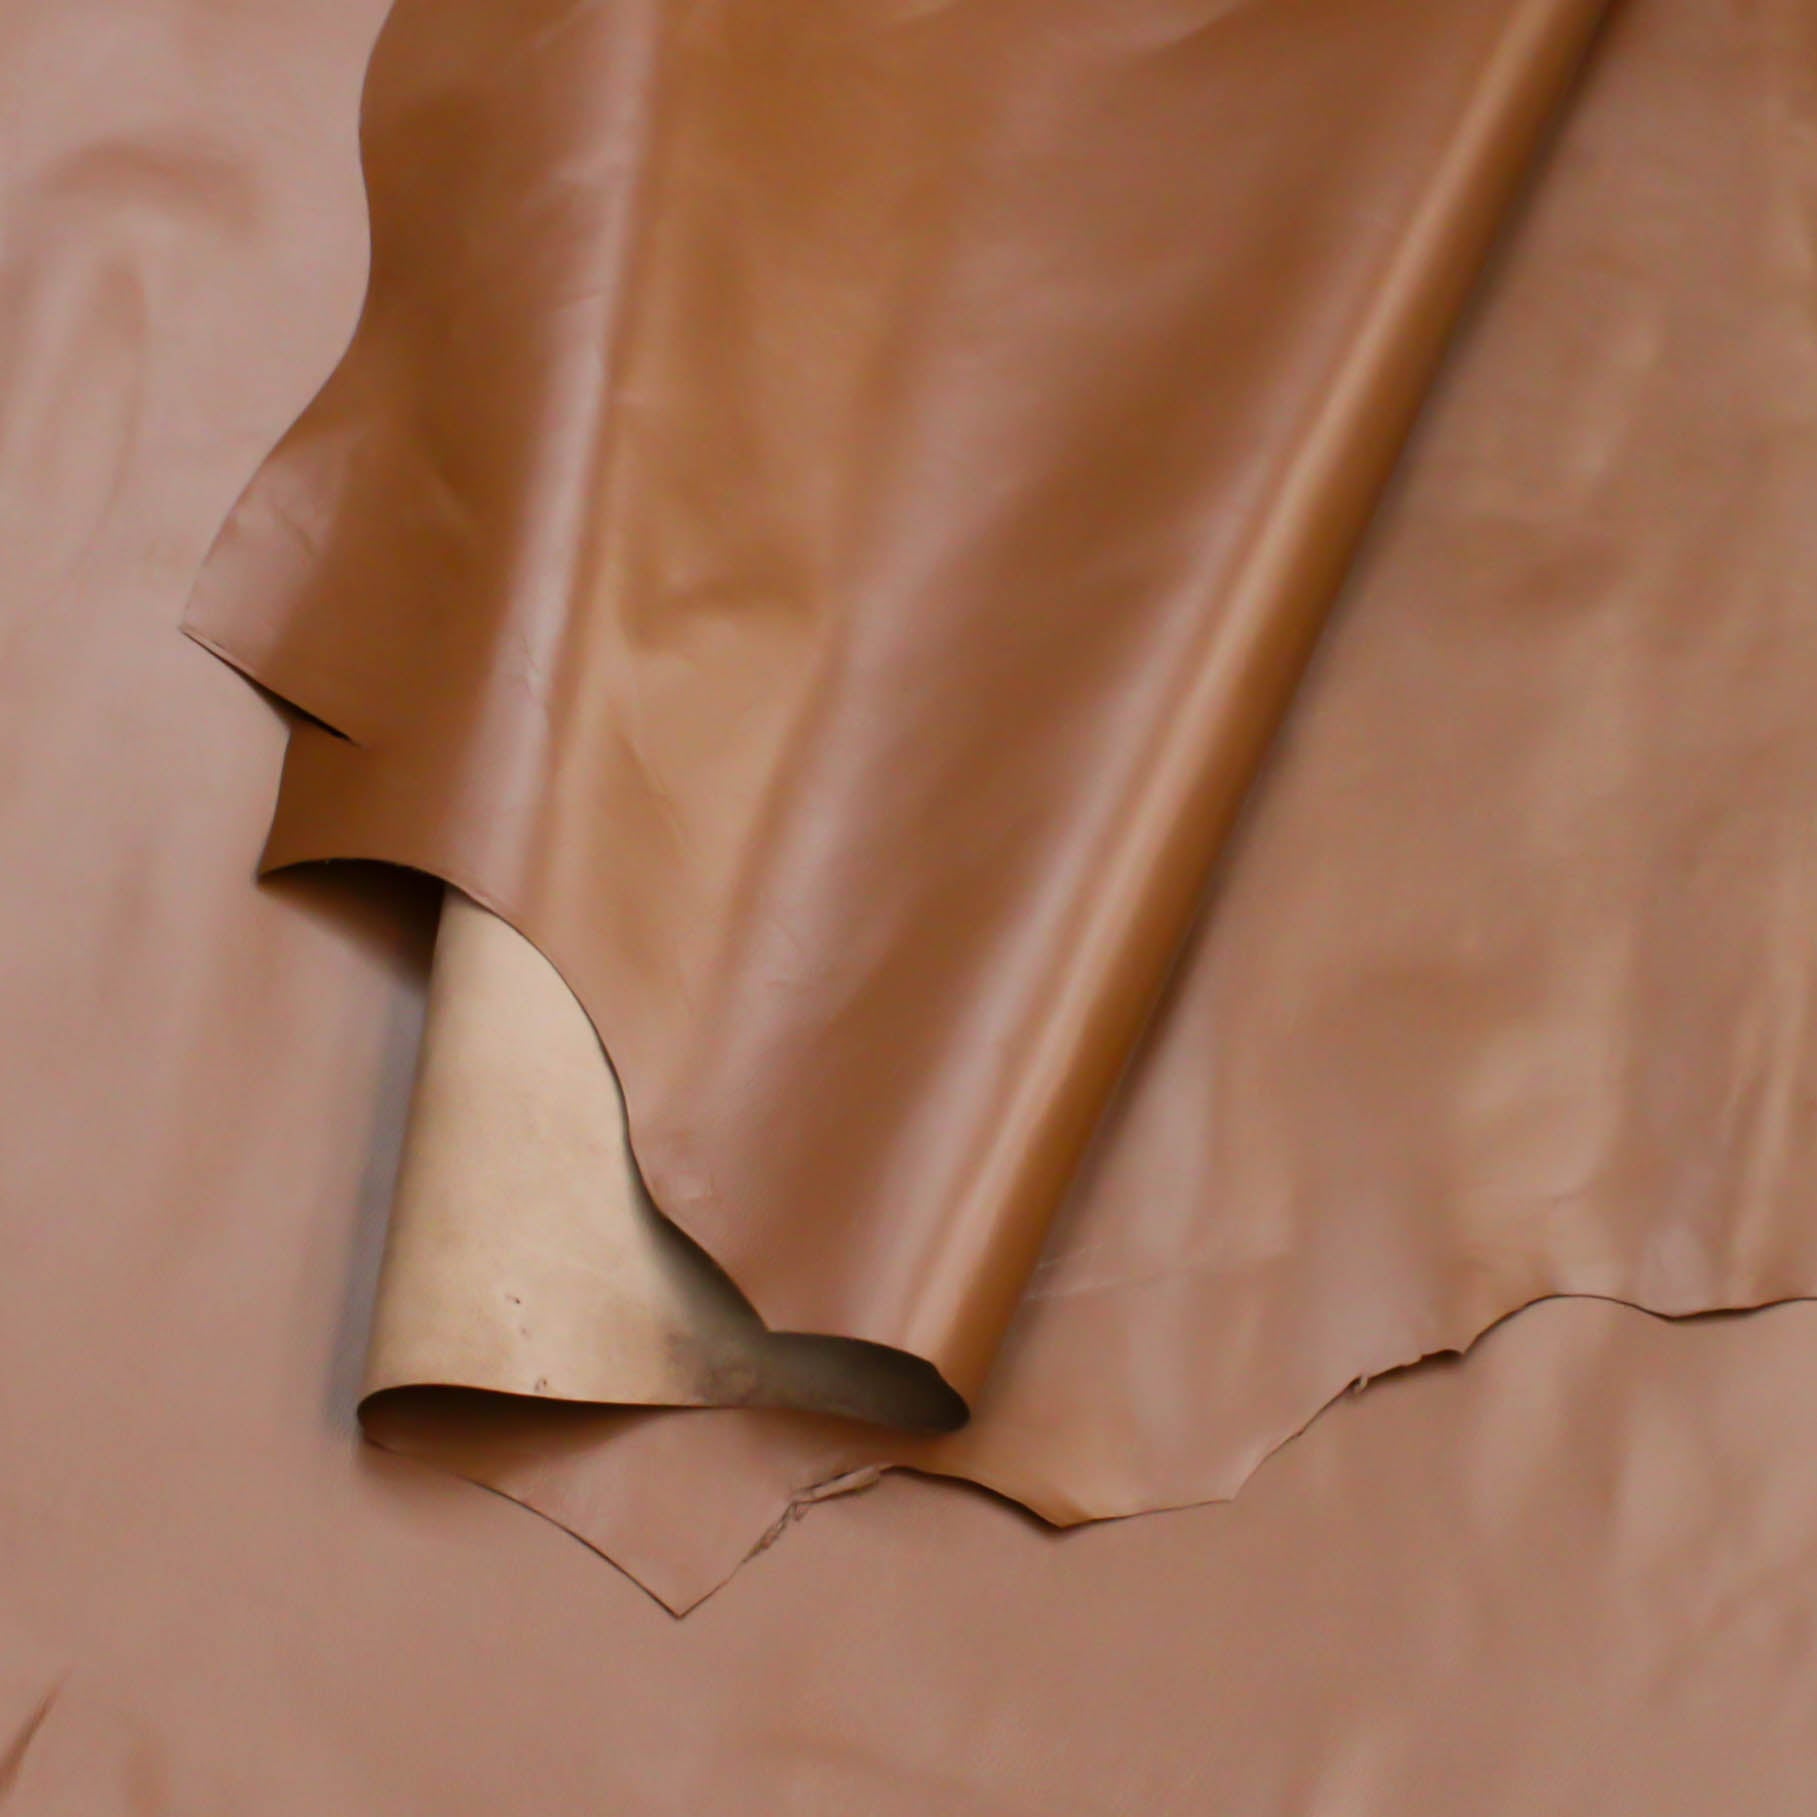
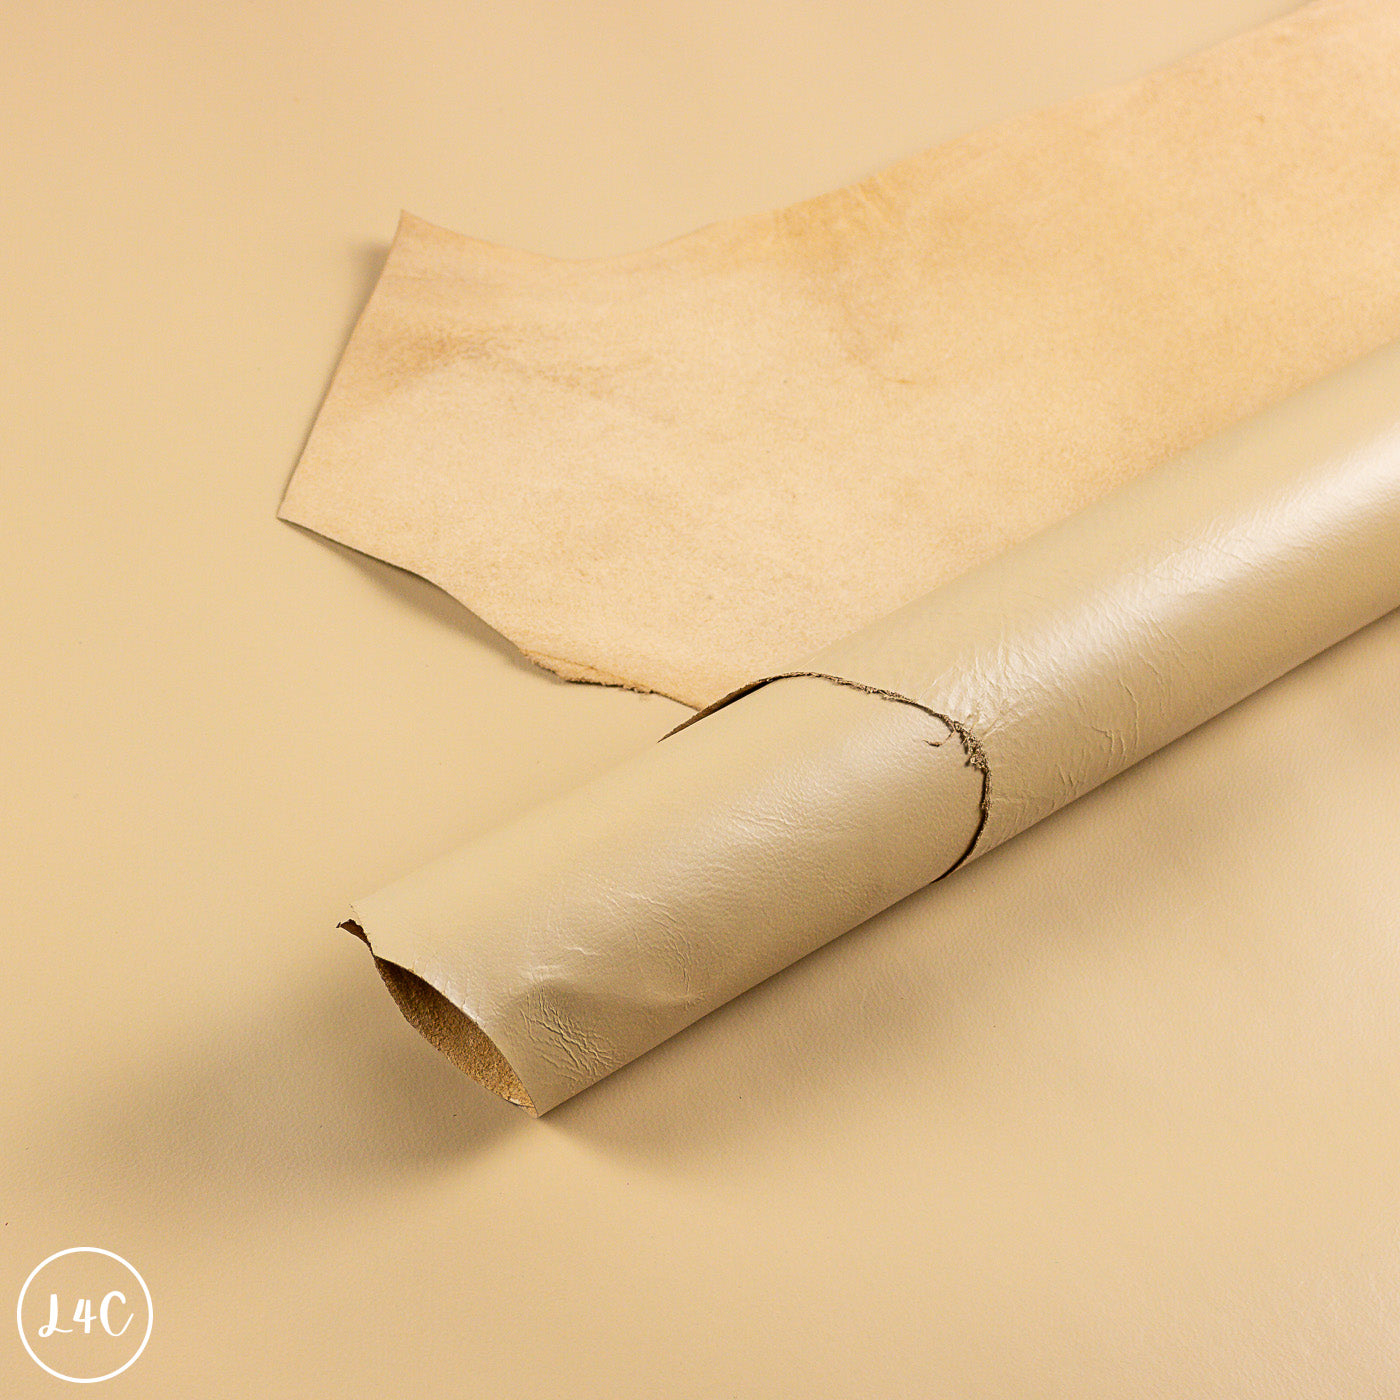
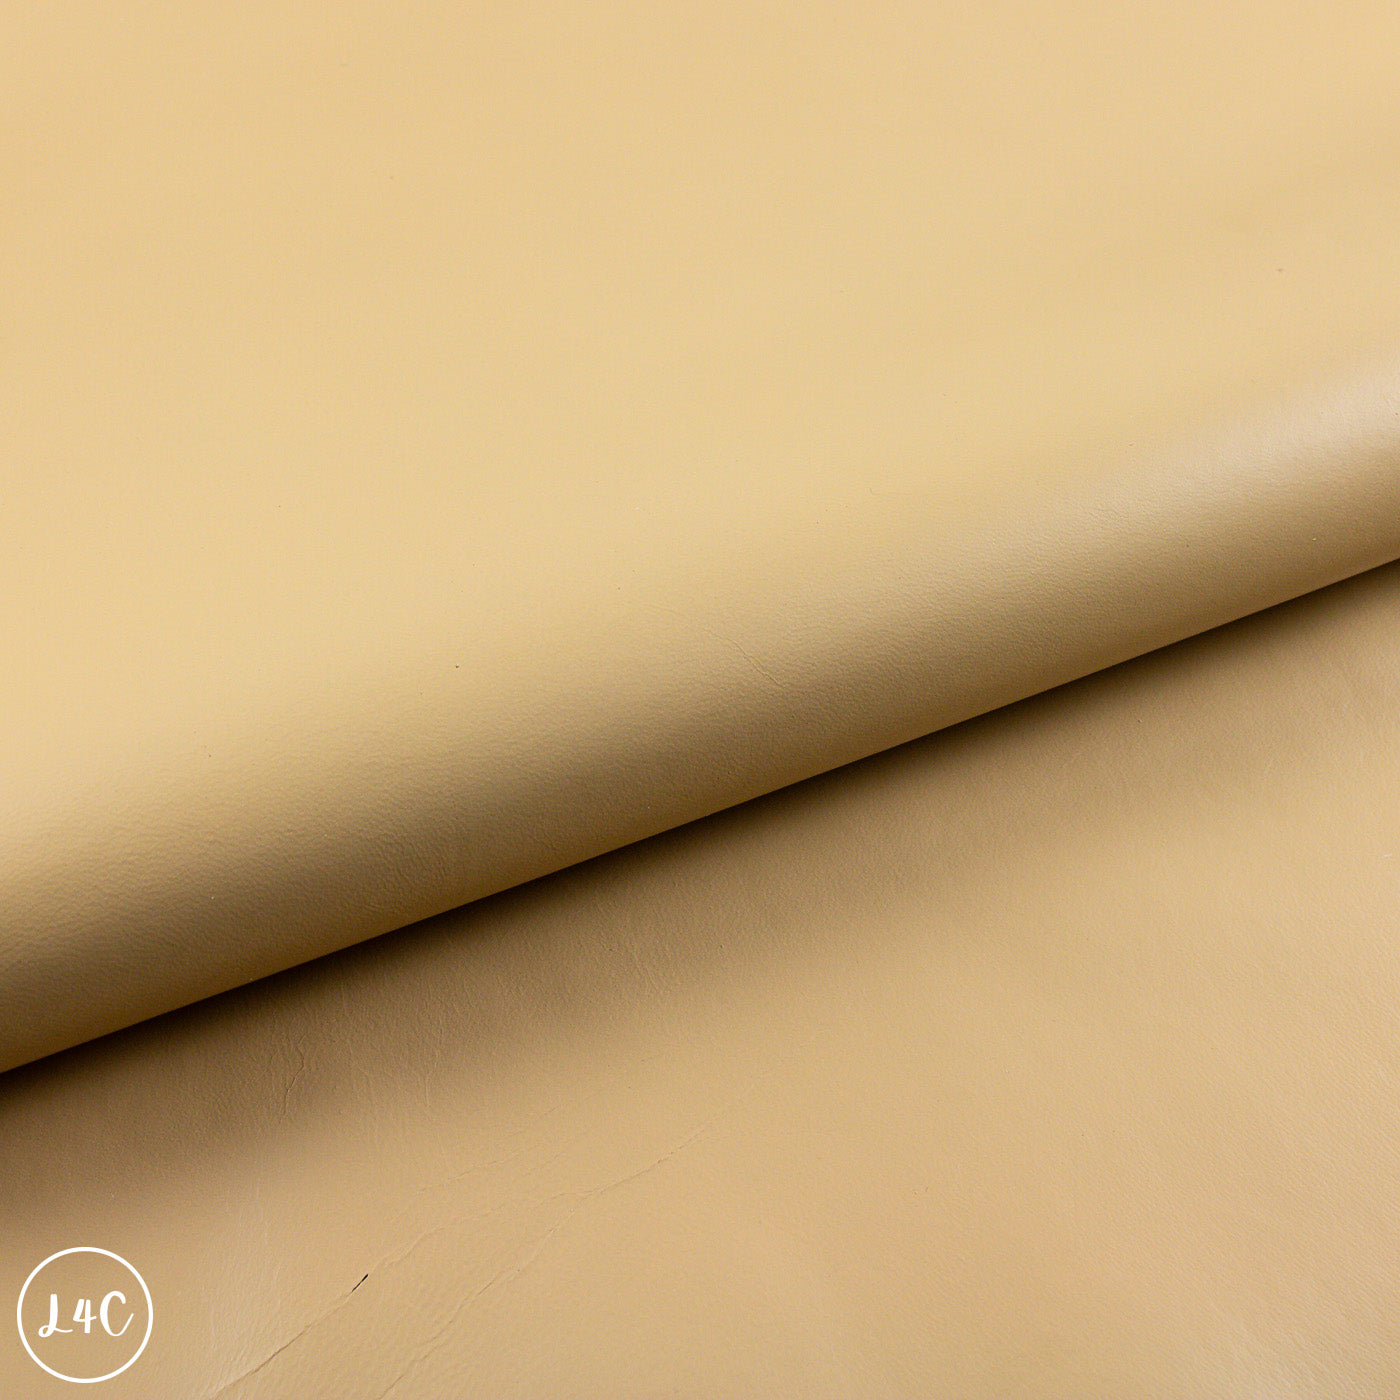
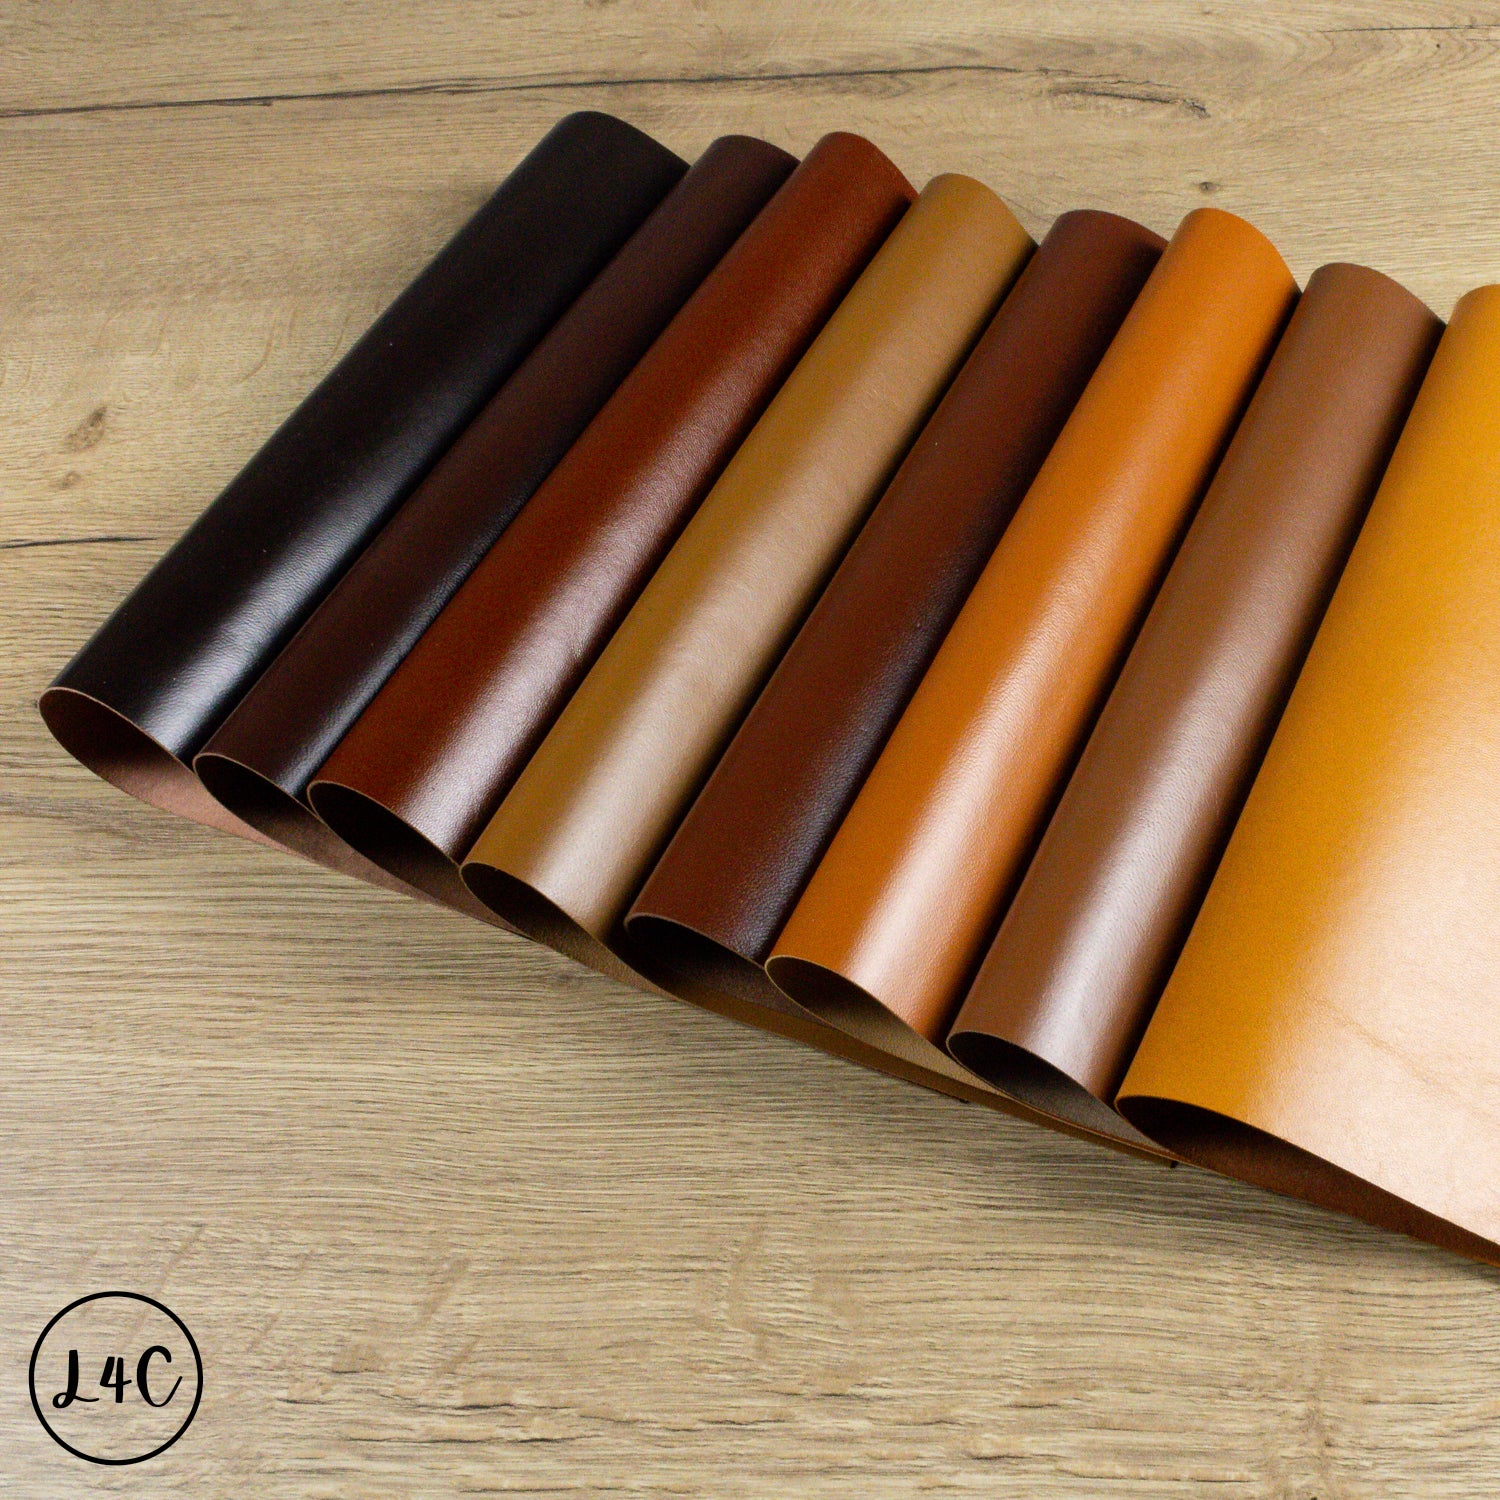
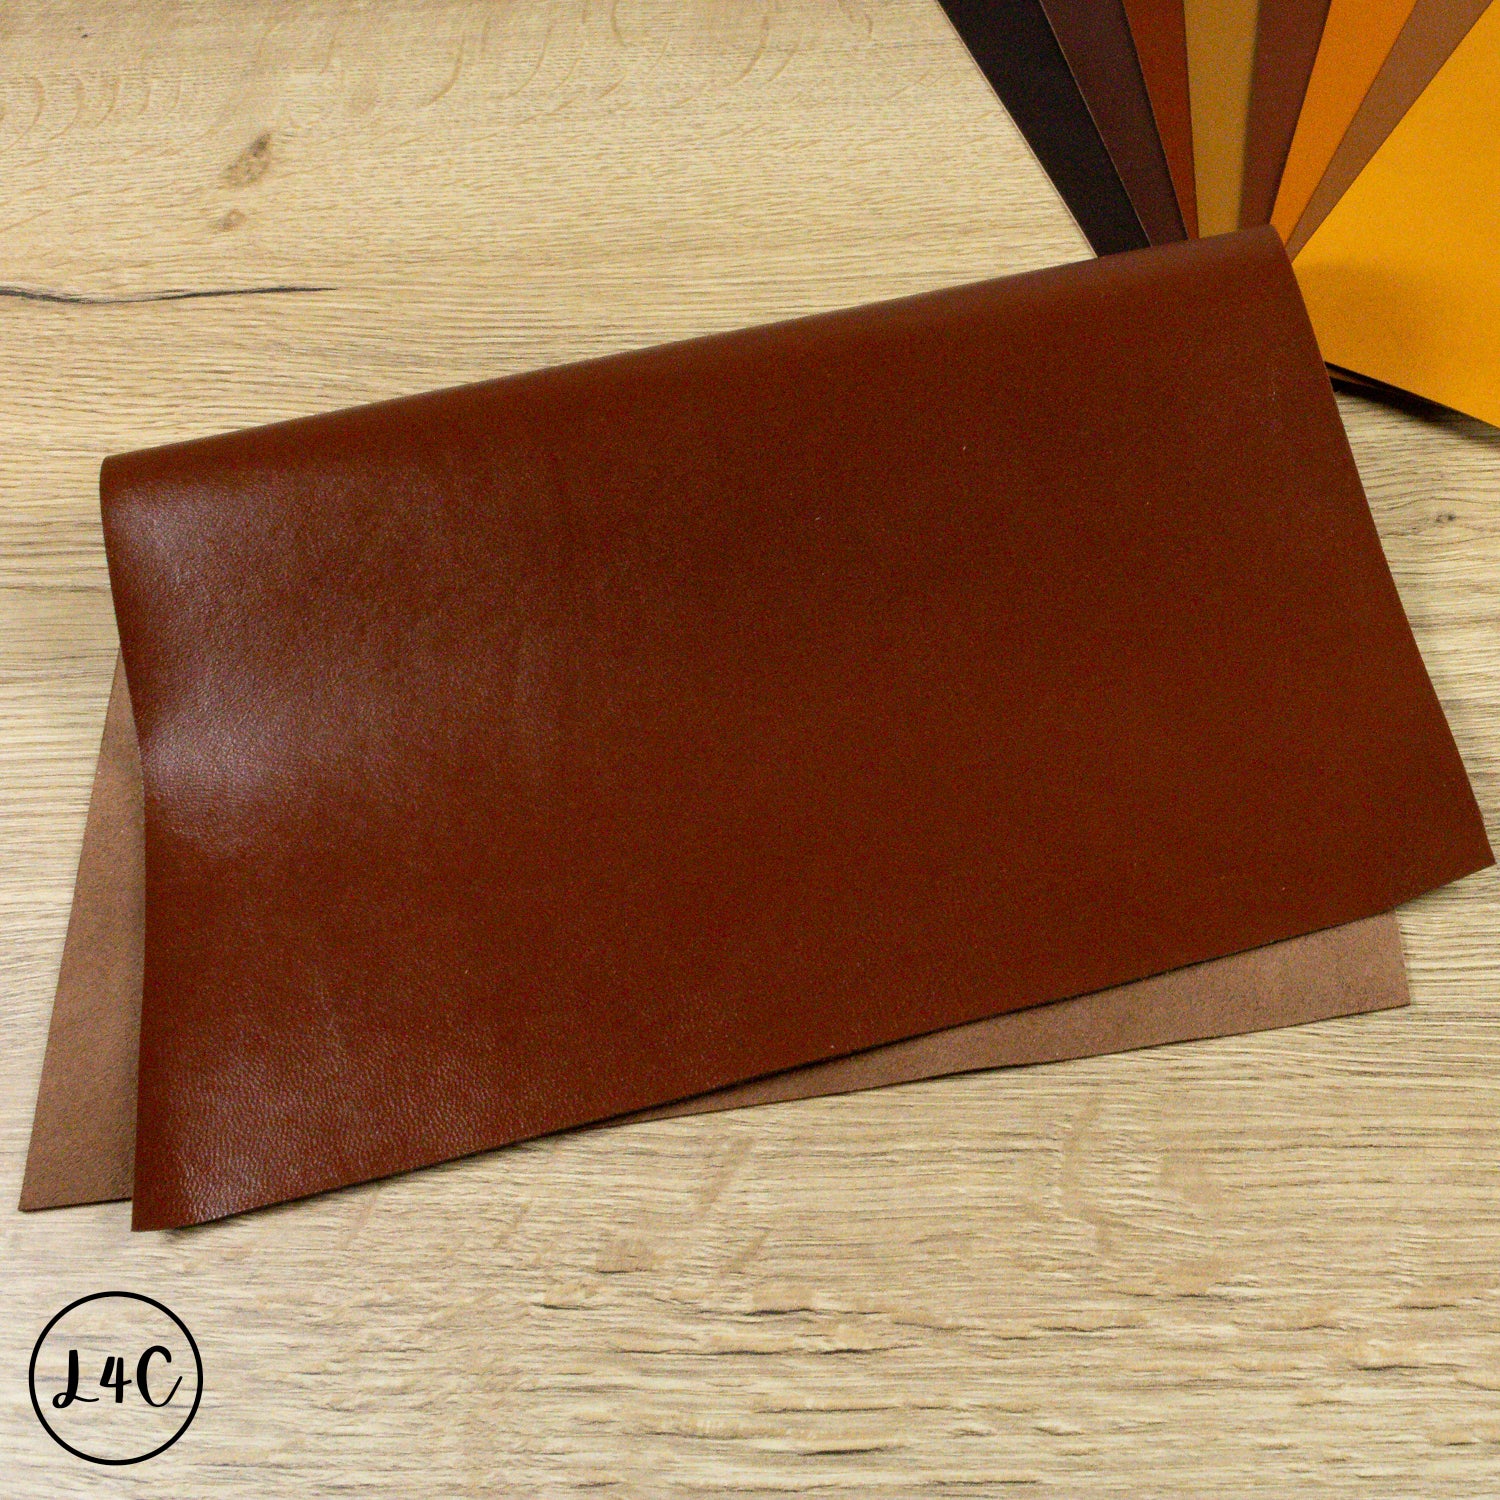
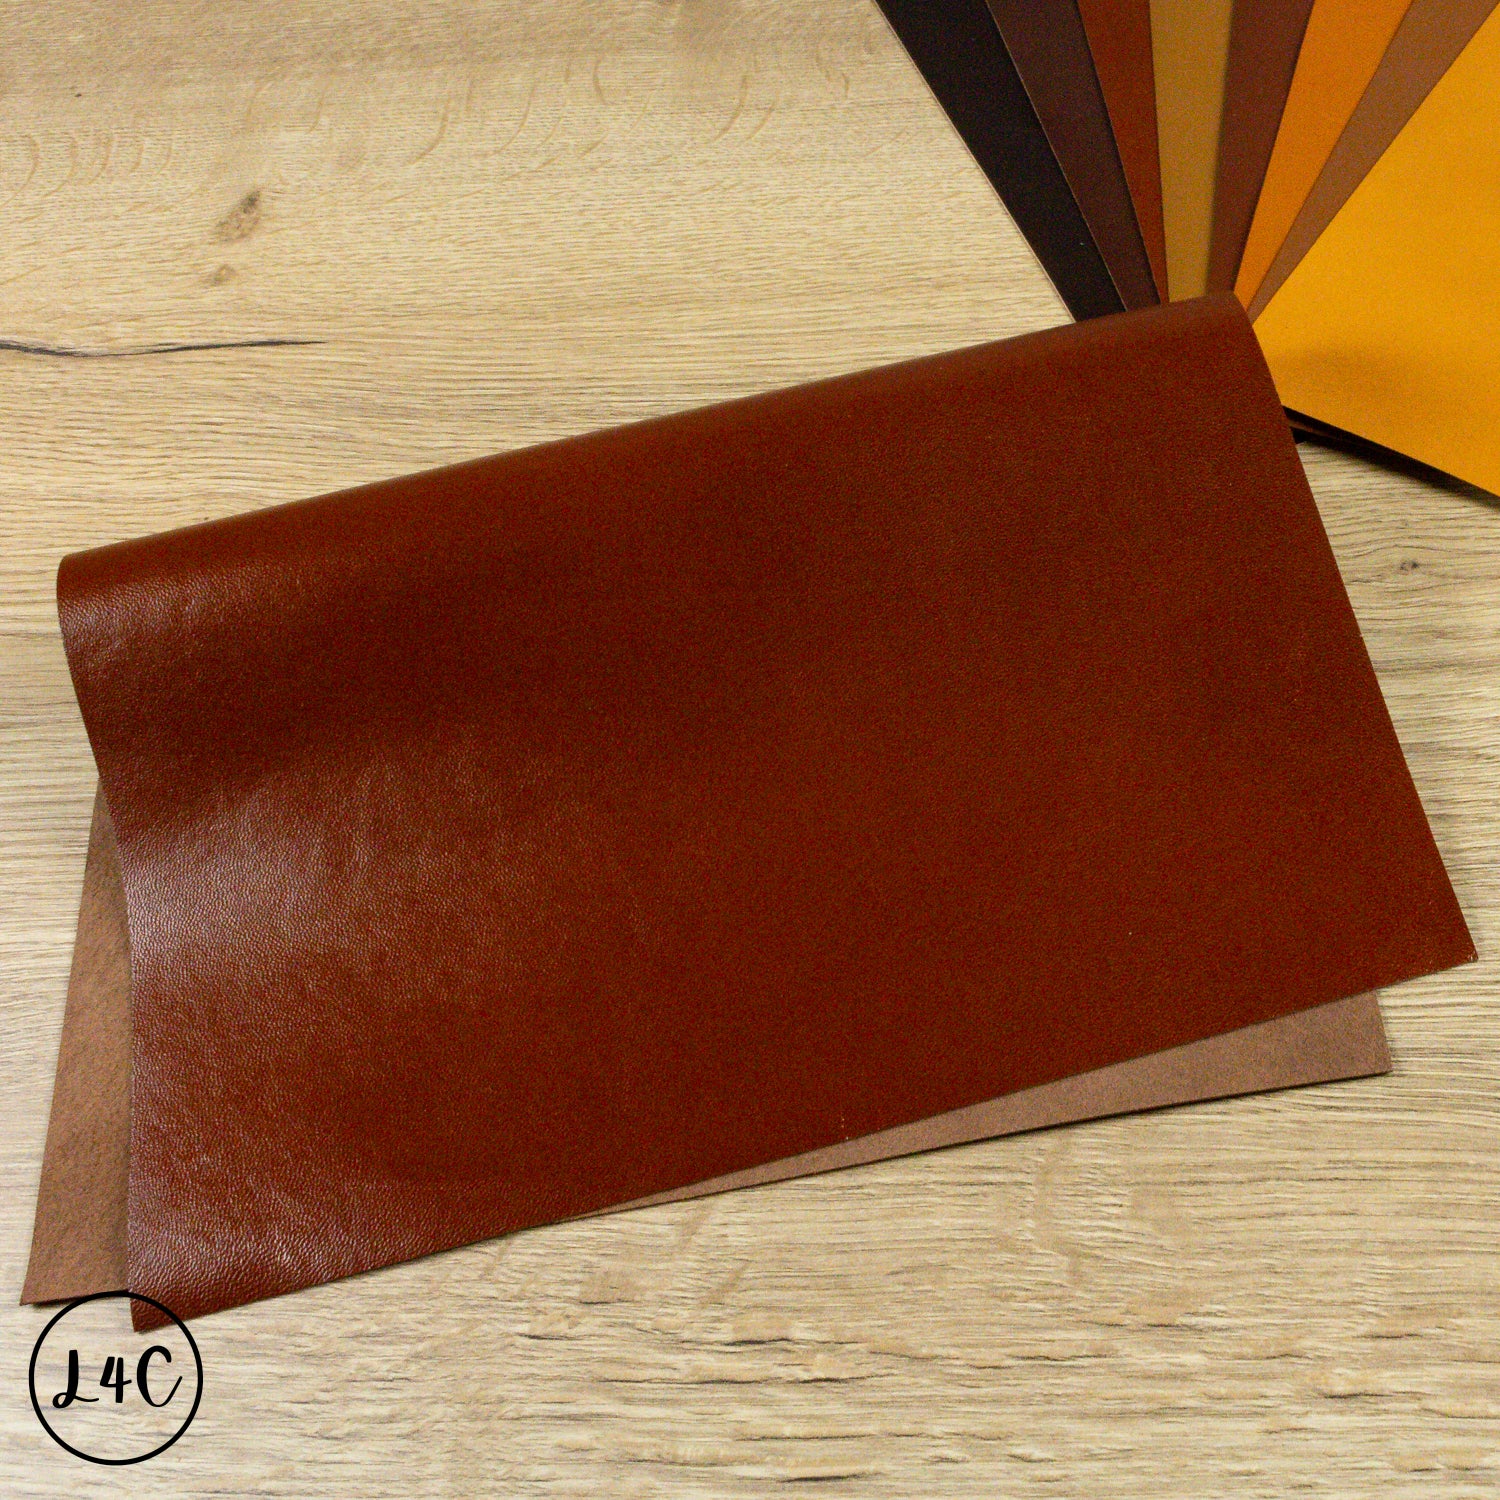
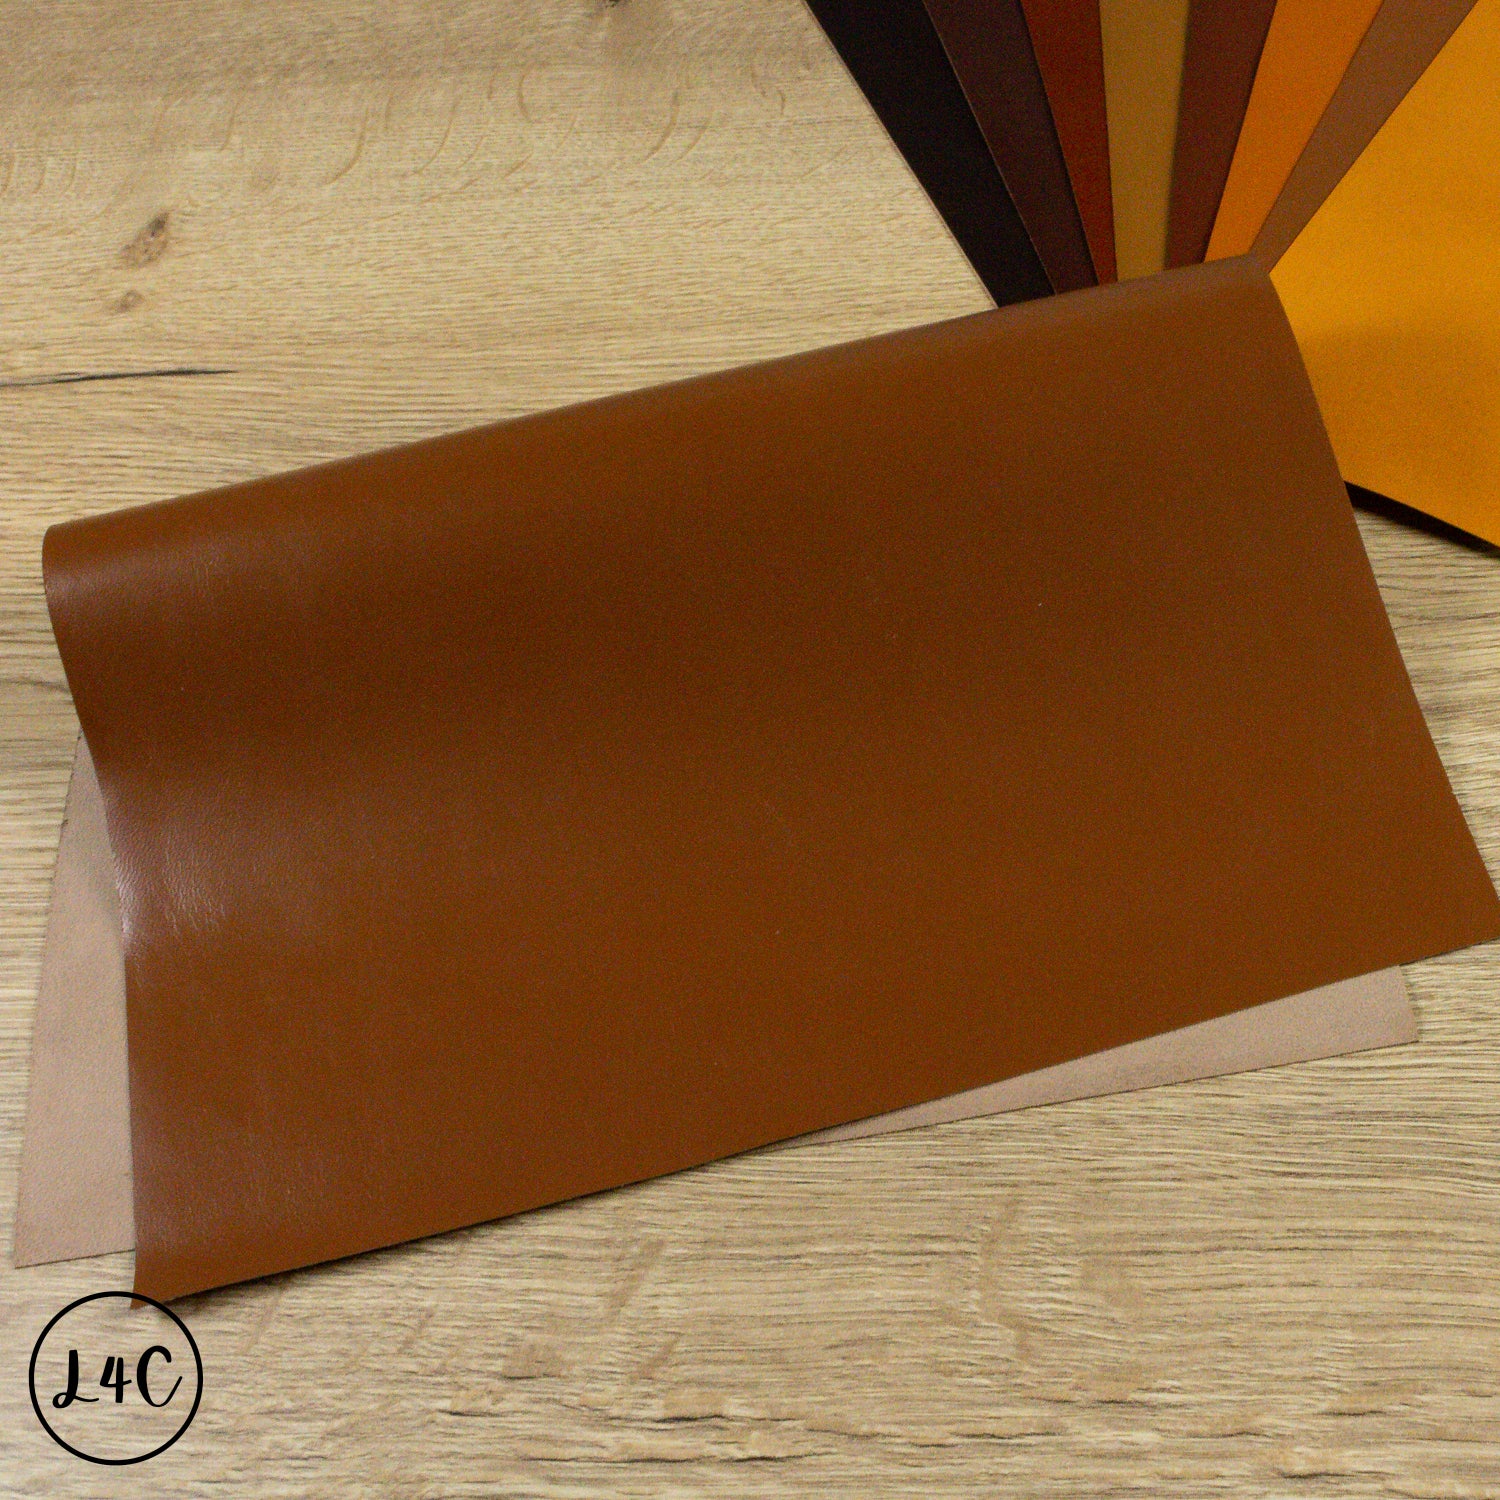
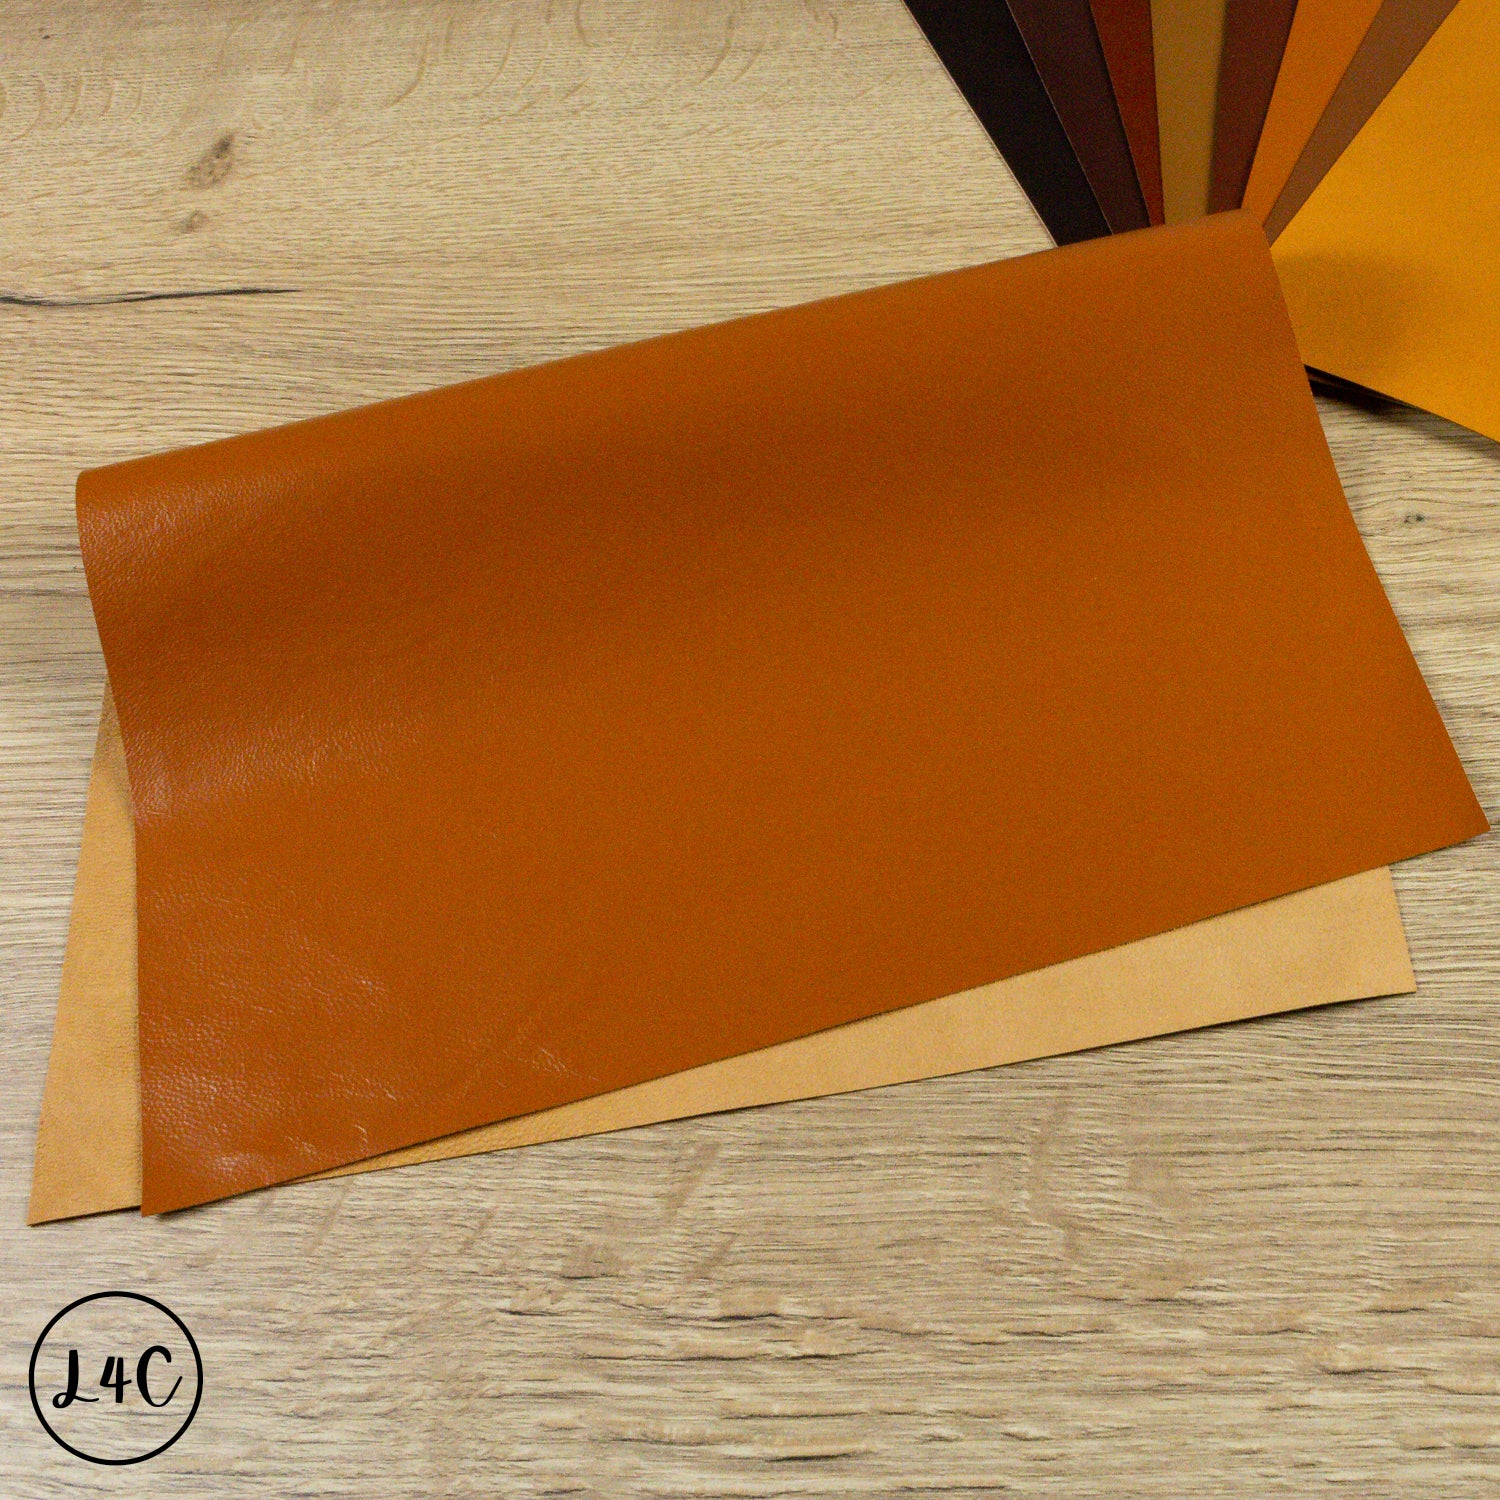
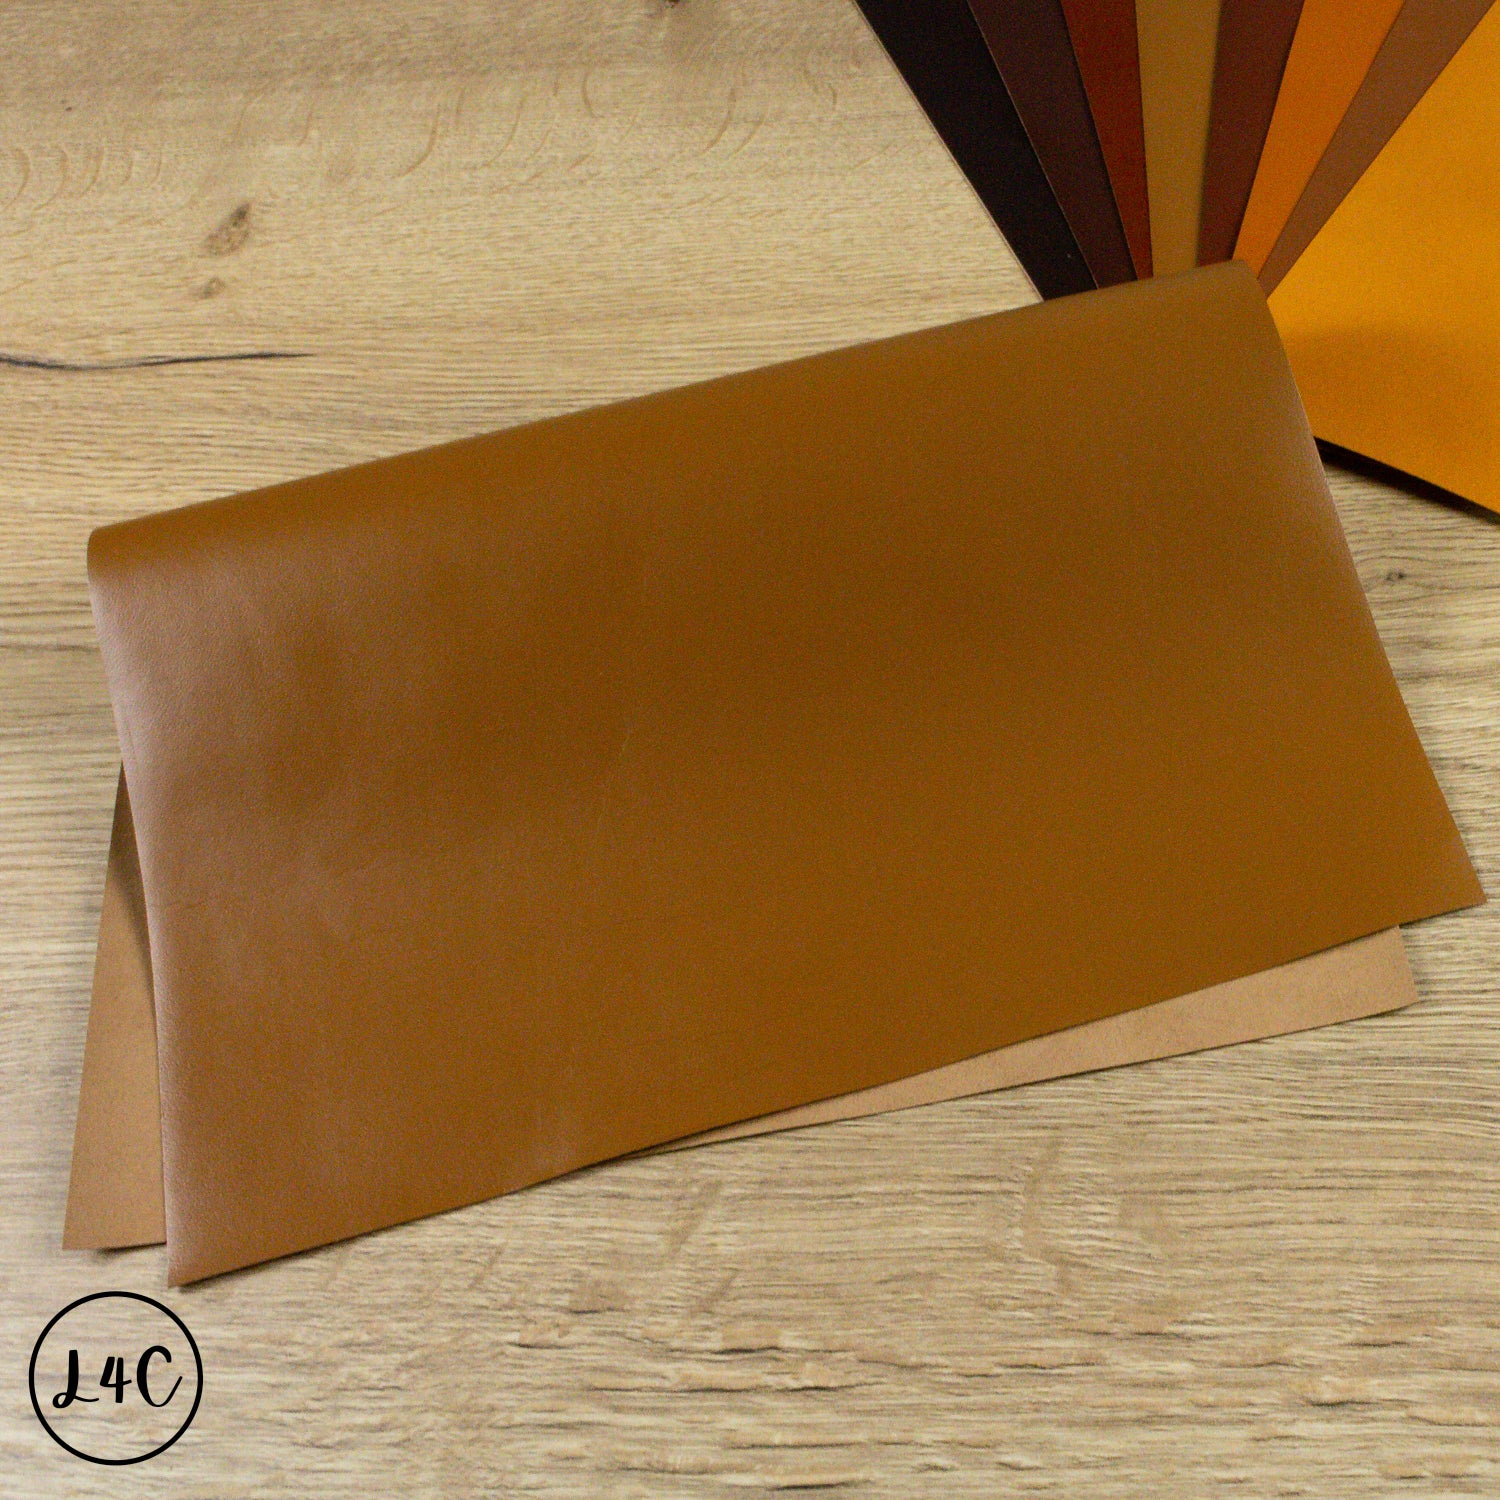
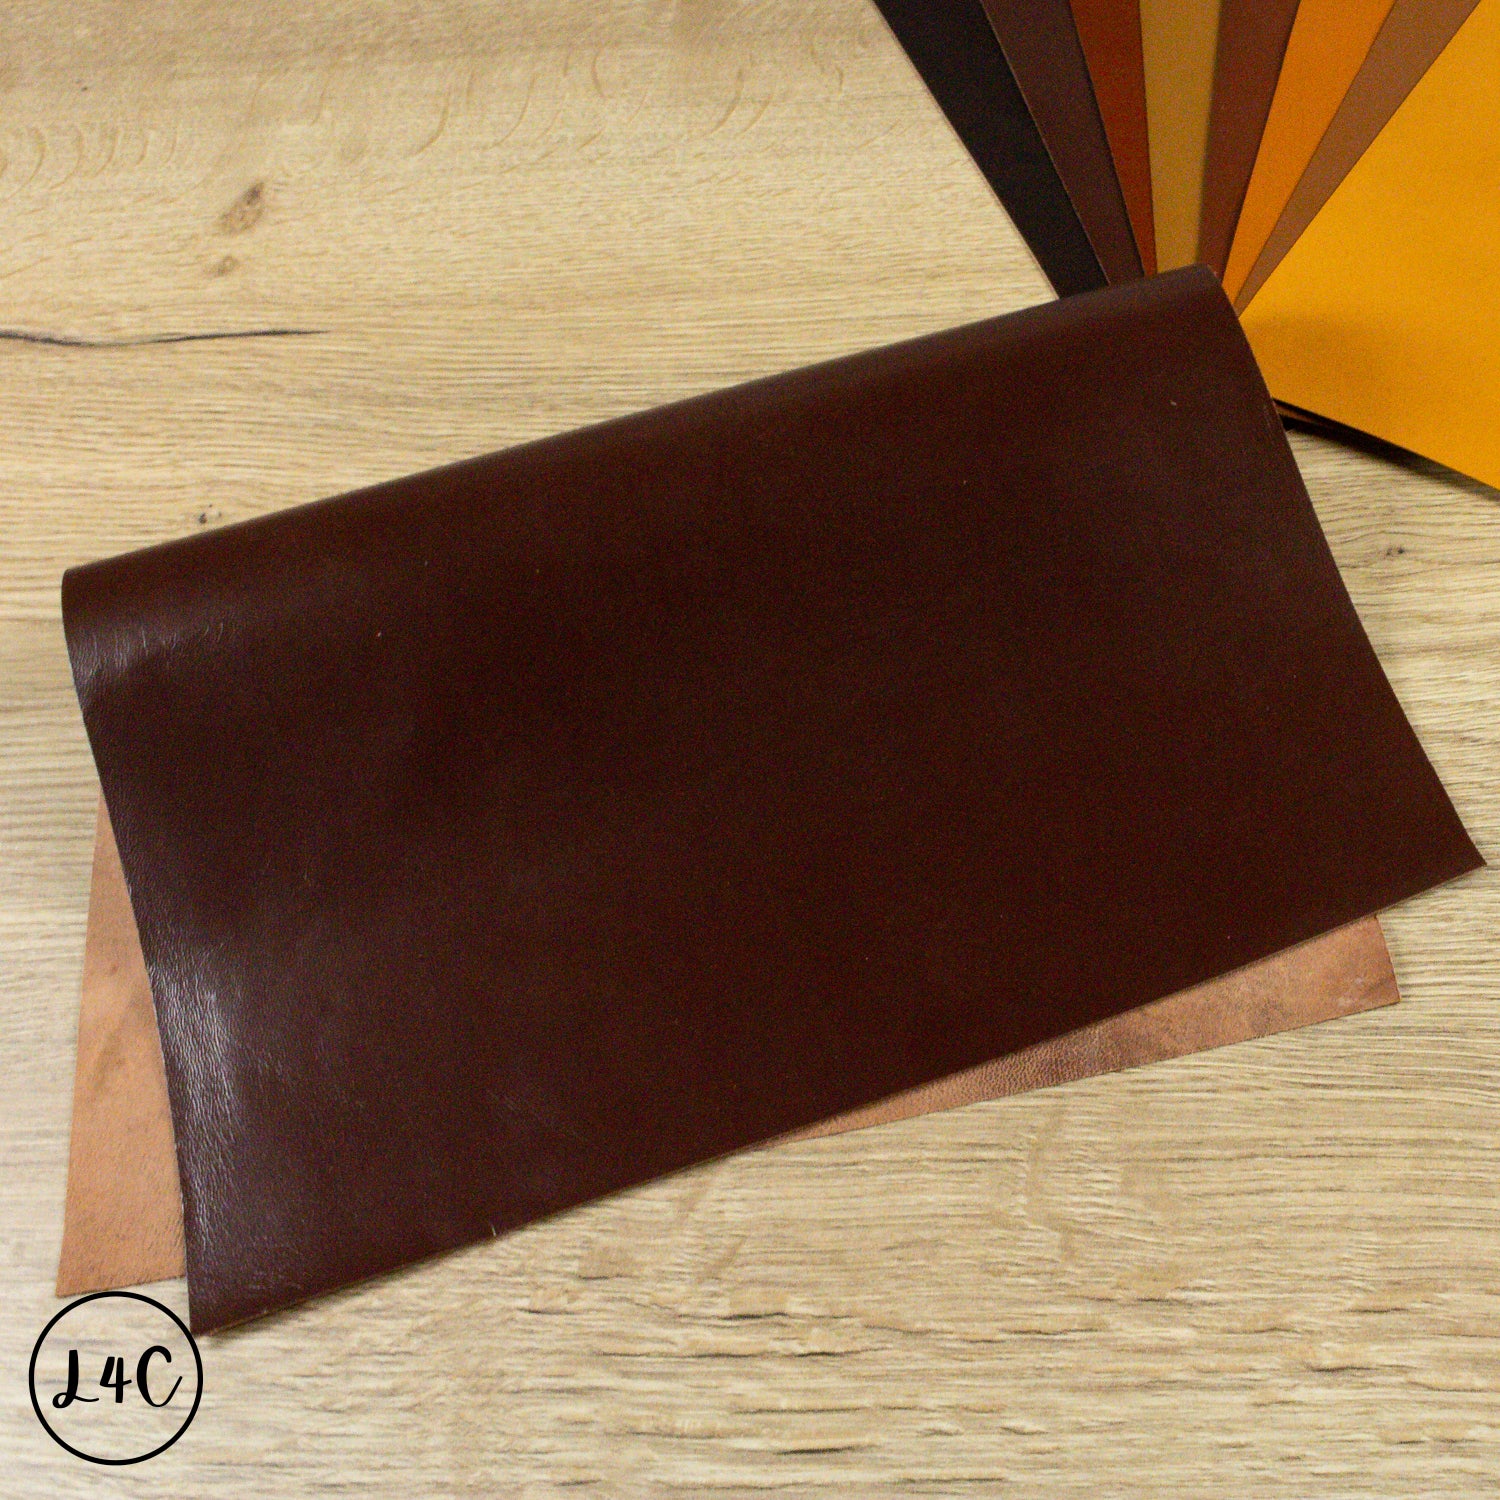
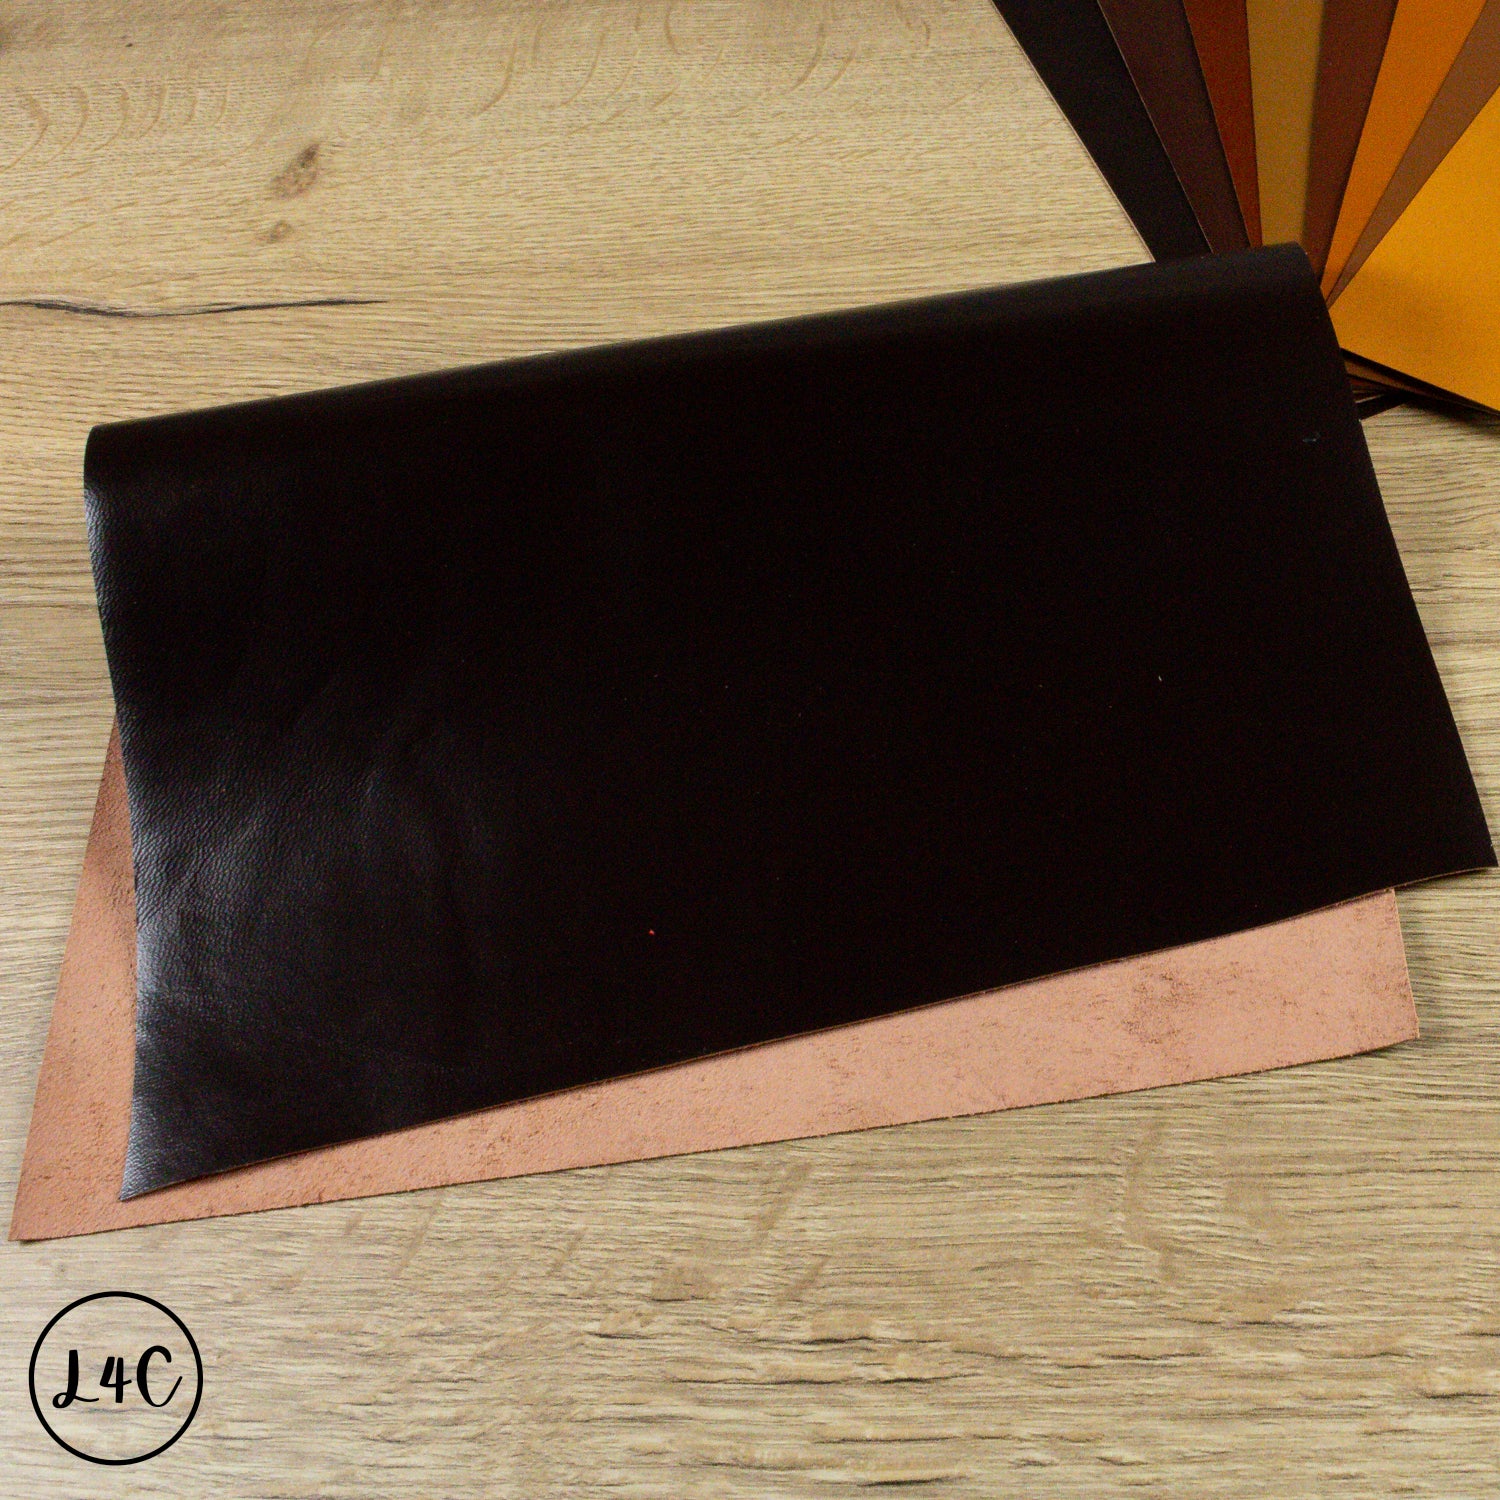
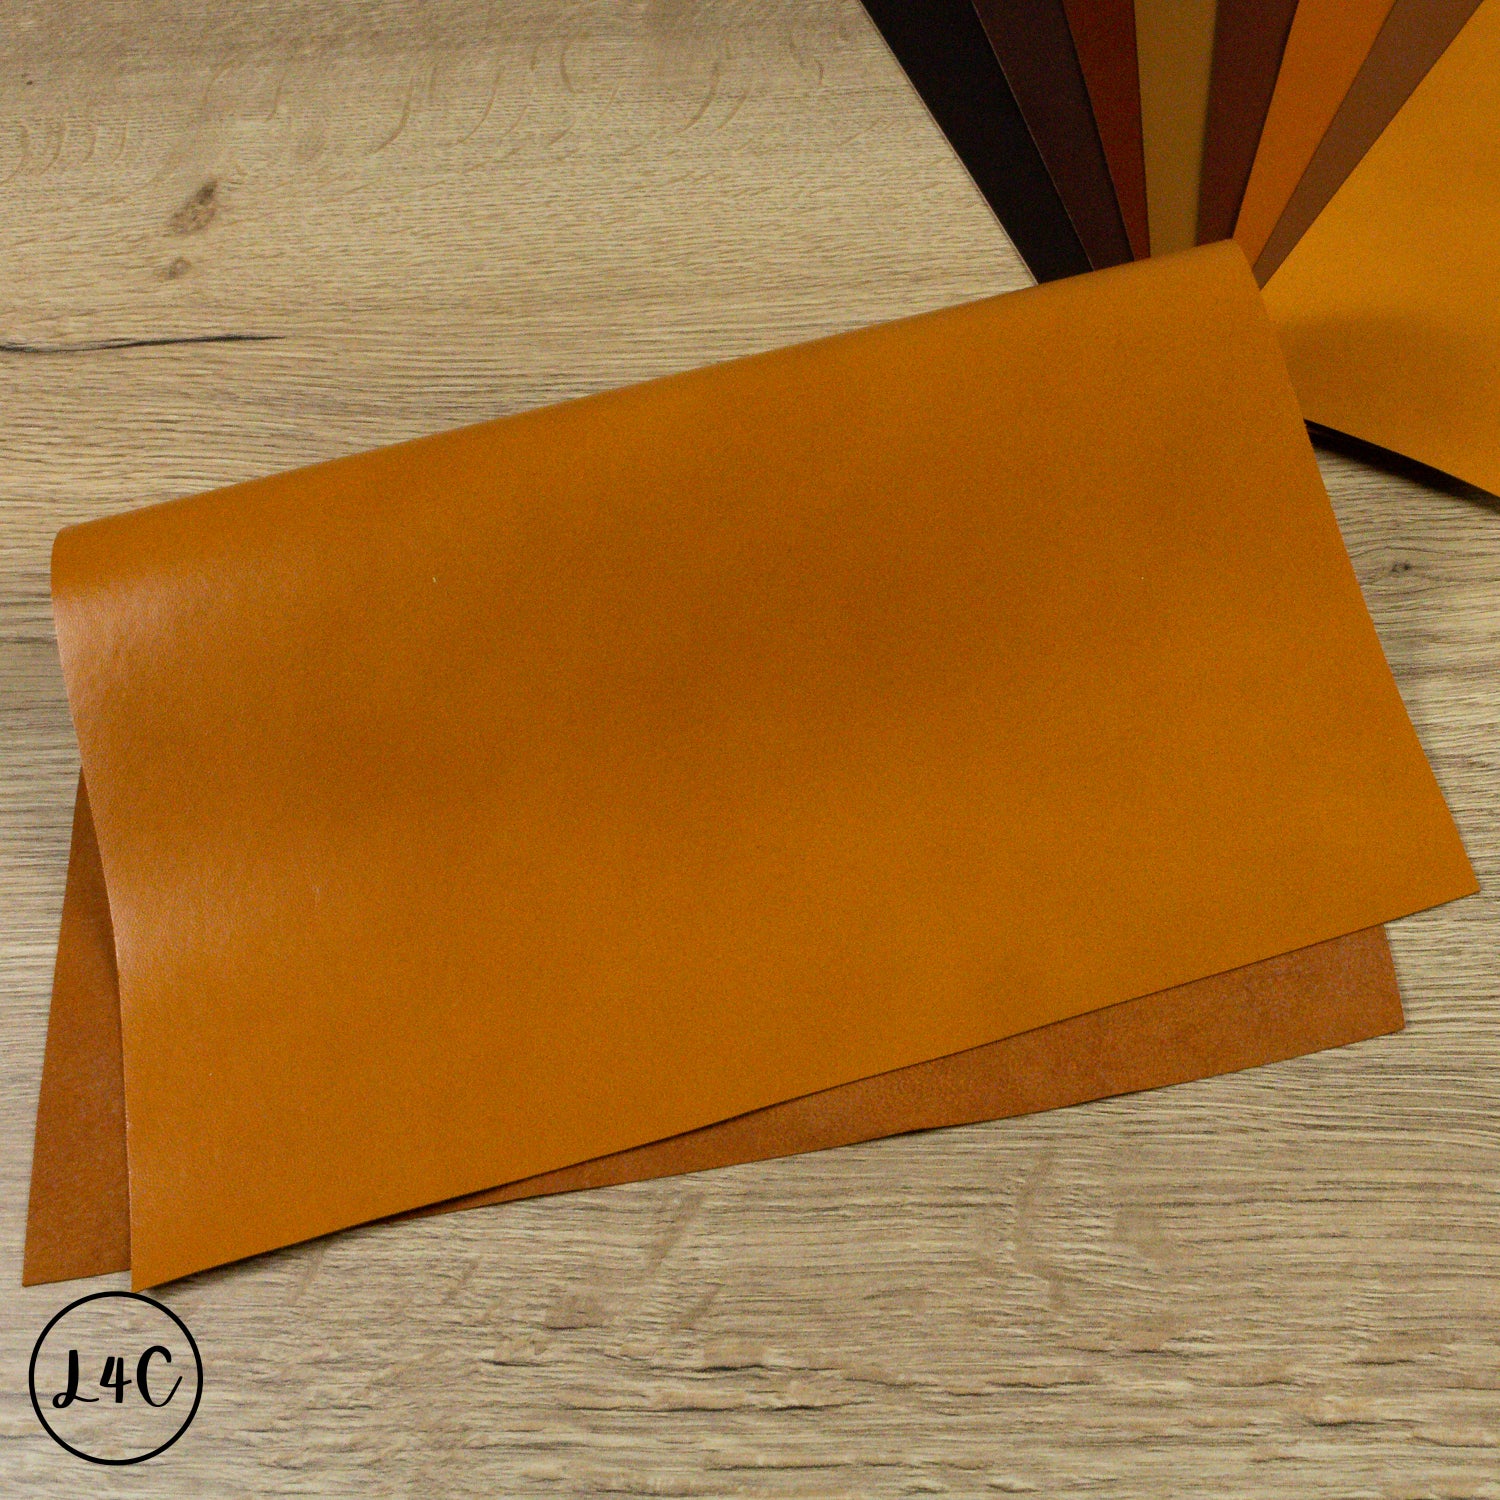
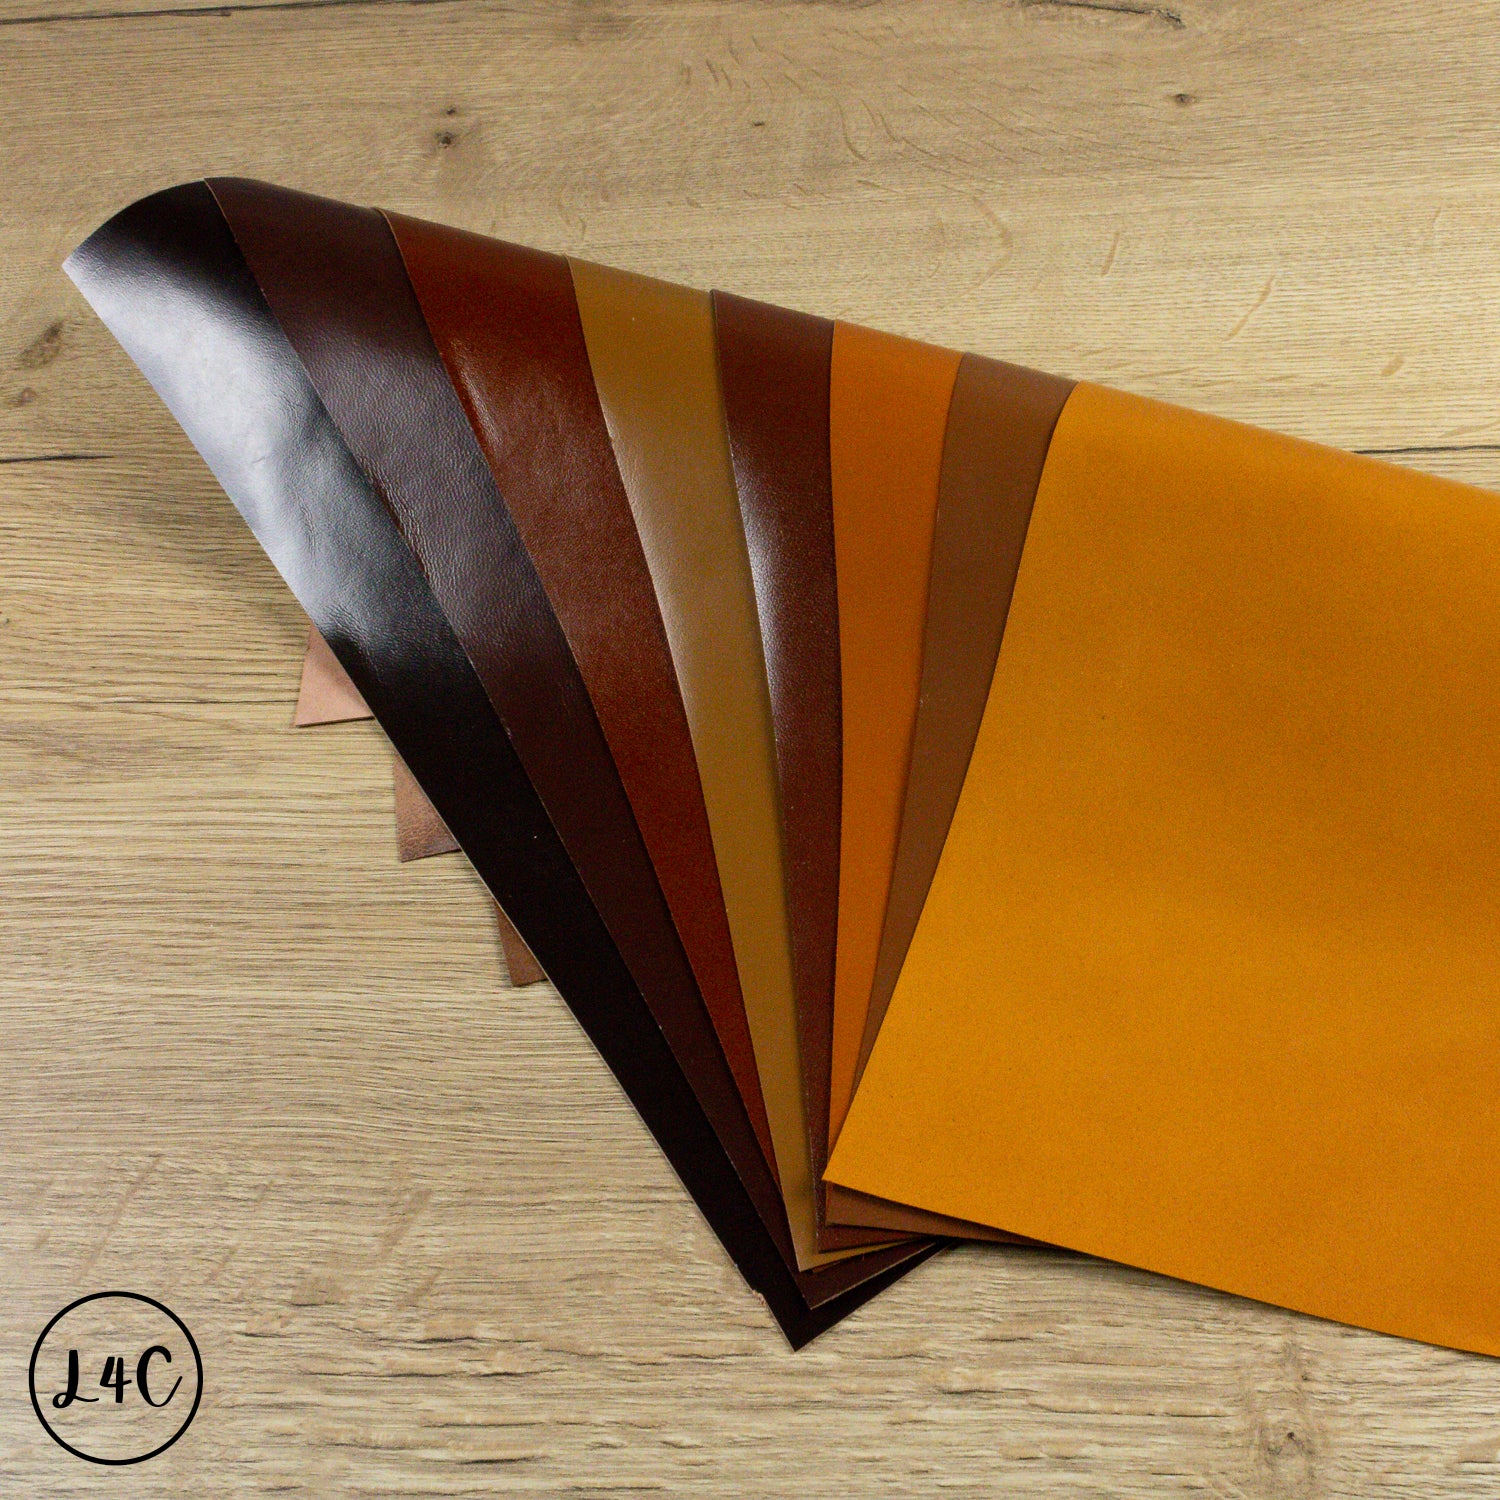
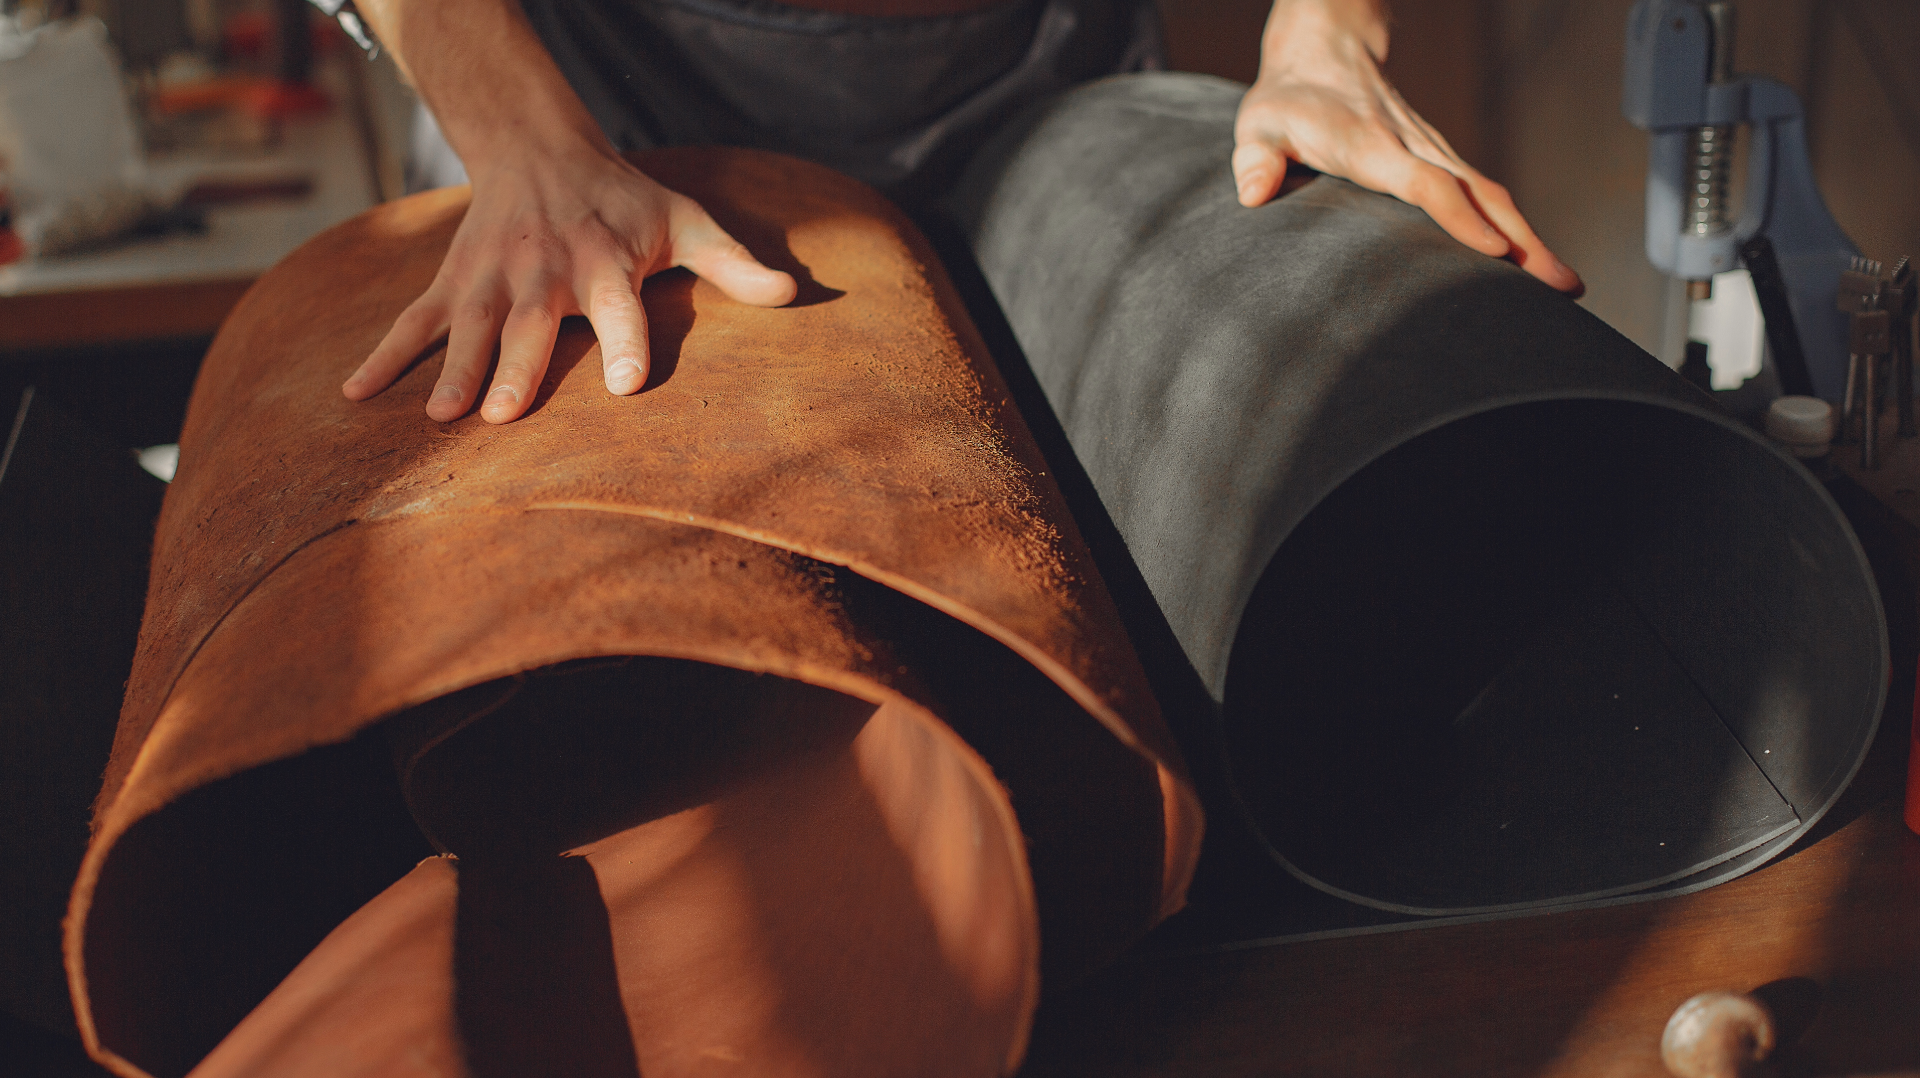
- Leather: Choose a soft, thin leather (like calf or goat skin).
- Bookboard: To create a sturdy cover.
- Adhesive: PVA glue or a strong craft glue.
- Gold Leaf: To decorate the book
For Binding:
- Thread: Use strong waxed thread for durability.
- Needle: A bookbinding needle or a large needle with a wide eye.
- Bone Folder: Useful for making crisp folds.
Additional Tools:
- Cutting Mat: To protect your workspace.
- Clamps or Weights: To hold your book while the glue dries.
- Hand Stamps/Rollers: To add the gold leaf patterns.
Step-by-Step Guide to Leather Book Binding
Step 1: Prepare the Pages
- Cut Your Paper: Decide on the size of your book. Use a ruler and craft knife to cut your paper into even sheets. For a standard journal, consider dimensions like 5"x7"; or 6"x9".
- Create Signatures: Group your sheets into signatures, which are small bundles of 4-8 sheets. Fold each group in half to form the signatures.
Step 2: Sew the Signatures
- Punch Holes: Using a ruler, mark three evenly spaced holes along the folded edge of each signature. Use a hole punch or awl to create the holes.
- Sew the Signatures: Using your needle and thread, sew through the holes in each signature. Start from the centre hole, go out to one side, and back through the next hole. Repeat for the third hole, then tie off the thread securely. Repeat for all signatures.
Step 3: Prepare the Cover
- Cut the Cover: Measure and cut three pieces of bookboard for the spine, front covers and back covers.Make them slightly larger than your folded pages.
- Add the raised bands or hubs: Using the spine piece stick short strips of leather every 1/4 inch using glue.
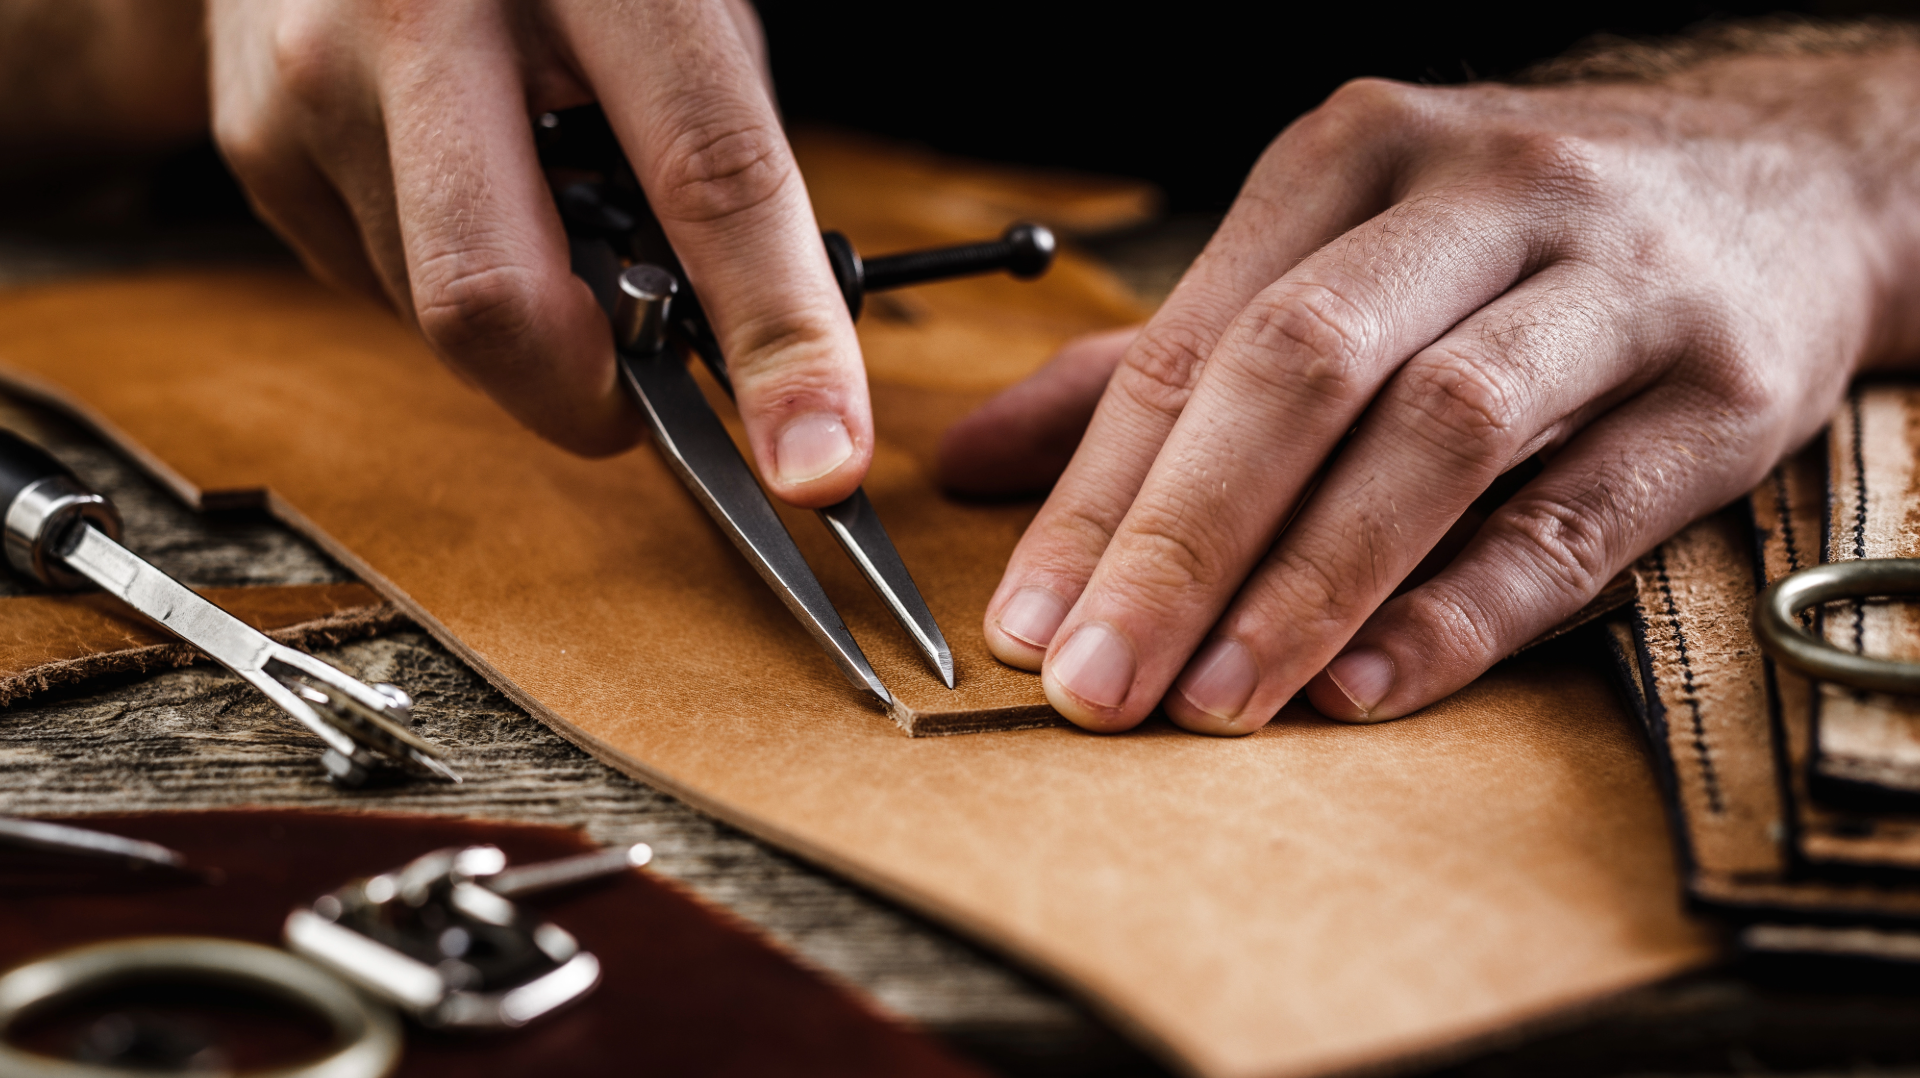
- Cut the Leather: Cut a piece of leather that is about 1-2 inches larger than the bookboard on all sides.
- Attach the Cover: Apply glue to the cardboard pieces and place them in the centre of the leather. Fold the leather over the edges and glue them down by cutting a 45° angle in each corner, creating a neat finish.
Step 4: Assemble the Book
- Attach the Pages to the Cover: Open your leather cover and apply glue to the spine area. Insert your sewn signatures into the cover, ensuring they are aligned properly. Press firmly and hold until the glue sets.
- Clamp and Dry: Use clamps or place weights on the book to ensure it adheres well. Add string between the hubs on the spine to create enough pressure to make them protrude. Let it dry for several hours or overnight.
Step 5: Finishing Touches
- Embellish: Once the glue is dry, add personal touches to the leather. You could use hand stamps to add various patterns and letters to your book. Alternatively, you could use a brass roll wheel to lay down gold leaf around the edges and cover of the book.
Just like that your book is complete. Leather book binding is an enjoyable and fulfilling craft that allows you to create something truly unique and personal. With just a few materials and steps, you can produce a beautiful, handmade book that you'll treasure for years to come.

